

Busy spaces like kitchens in Fremont area homes can look disorganized without proper storage. Cabinets allow you to easily store your kitchen essentials and access them when needed. They also have aesthetic value, setting the tone for your kitchen’s overall style. That’s why you must keep your kitchen cabinets looking good and maintaining their functionality.
Proper preparation for painting kitchen cabinets is critical to a successful project. It ensures the paint adheres well and lasts long. It involves cleaning, sanding, and priming the surfaces to remove grease, grime, and old finishes. Skipping these steps can lead to peeling, chipping, or an uneven appearance in your Union City area home. The end goal of this meticulous preparation is to achieve a smooth and durable finish. It will enhance the kitchen’s aesthetics and withstand daily wear and tear.
Pre-cleaning steps
Assess the current condition
Identify the type of cabinets:
- Material – Determine if the cabinets are made of wood, laminate, metal, or another material.
- Style – Note if they are framed or frameless. Observe the design details, such as flat panels, raised panels, or glass fronts.
Current finish
- Painted – Identify if the cabinets have a paint finish, noting any chipping or peeling.
- Stained –Check if the wood is stained and whether the stain is even or has faded.
- Natural wood – Observe if the cabinets are natural wood without additional finish, possibly with a clear sealant.
- Laminate or veneer — Determine if the surface is laminate or veneer, which is common in modern cabinetry.
Gather materials
Cleaning supplies
- Mild dish soap or a gentle all-purpose cleaner
- White vinegar or a specialized wood cleaner (for wood cabinets)
- Baking soda (for tough stains)
- Microfiber cloths or soft, lint-free cloths
- Soft-bristle brush or toothbrush for detailed areas
- Warm water
- Spray bottle (for diluted cleaning solutions)
- Sponges
Protective gear
- Rubber gloves to protect hands from cleaning chemicals
- Safety goggles (if using strong cleaning agents)
- Mask (to avoid inhaling fumes from any cleaning products)
Initial cleaning
Dusting and vacuuming: Remove surface dust and debris using a duster or vacuum with a brush attachment.
Washing with soap: Wipe down surfaces with a gentle detergent solution. Mix mild soap with warm water and clean with a soft cloth or sponge.
Rinsing: Wipe the surface thoroughly with a damp cloth to ensure no soap residue remains. Then, wipe it dry with a clean towel. It helps prevent issues with paint adhesion and maintains the finish.
Deep cleaning and degreasing
Choosing the right degreaser
- Recommendations – Look for degreasers specifically formulated for kitchen use. Examples are products containing citrus-based solvents or mild alkaline cleaners. Popular brands include Simple Green, Krud Kutter, and Goo Gone.
- Eco-friendly options – Choose biodegradable and non-toxic degreasers. They are as effective as their traditional counterparts. Plus, they minimize environmental impact and ensure safety in food preparation areas.
Application techniques
- Preparation – Remove any loose dirt or dust from the cabinet surfaces with a dry cloth.
- Testing – Test the degreaser on a small, inconspicuous area to ensure it doesn’t damage the finish.
- Application – Apply the degreaser to a soft cloth or sponge, not directly onto the cabinet. Doing so controls the amount used and avoids oversaturation.
- Gentle cleaning – Wipe the cabinet surfaces in a circular motion. Pay special attention to heavily greased areas without applying excessive pressure.
Rinsing and drying
- Rinsing – Use a separate clean and damp cloth to remove the degreaser residue. Ensure no cleaning agent is left behind. Residues can attract more dirt or cause surface damage over time.
- Drying – Dry the cabinets with a clean and dry cloth immediately to prevent moisture from damaging the wood or finish. Ensure all surfaces are thoroughly dried to maintain the cabinets’ integrity.
Sanding and dust removal
Sanding techniques
- Preparation – Remove cabinet doors, drawers, and hardware.
- Initial Sanding – Use 120-grit sandpaper for the first pass to remove old finishes and smooth rough areas.
- Intermediate sanding – Switch to 180-grit sandpaper to smooth out any remaining rough spots.
- Final sanding – Finish with 220-grit sandpaper for a smooth, even surface.
- Method – Sand in the wood grain’s direction to prevent scratches and ensure a smooth finish.
Dust extraction
- Vacuum – Use a shop vacuum with a brush attachment to remove sanding dust from surfaces and crevices.
- Compressed air – Use this tool to blow off dust from hard-to-reach areas and your cabinets’ detailed sections.
- Wet and dry wipes – Wipe down surfaces with a damp cloth or a microfiber cloth to pick up leftover dust particles.
Tack cloth use
- Final wipe down – Use a tack cloth to wipe the entire sanded surface. This sticky cloth picks up and holds onto fine dust particles left behind after vacuuming and wiping.
- Importance – Wiping the surface with a tack cloth ensures a dust-free surface. It is crucial for a smooth, blemish-free finish for the paint or stain. It also prevents dust from settling into the finish, potentially causing imperfections.
Applying primer
Selection of primer: Benefits of specific primers for kitchen cabinets
- Adhesion – Specific primers for kitchen cabinets enhance the adhesion of the paint to the surface. It ensures a durable and long-lasting finish.
- Stain blocking – These primers effectively block stains from grease, food, and other kitchen residues. They prevent these contaminants from bleeding through the paint.
- Smooth finish – They provide a smooth and uniform surface. It is essential for cabinets with varied materials and textures.
- Durability – Primers designed for kitchen cabinets withstand the kitchen’s high-traffic environment. They provide the surfaces with resistance to chipping and wear.
Application tips: Techniques for even primer application
- Surface preparation – Clean the cabinets thoroughly to remove grease, dust, and old paint. Lightly sand the surface for a better bond.
- Use a quality brush or roller – Choose a high-quality brush or roller suitable for the primer type. Foam rollers are great for a smooth finish on flat surfaces.
- Thin and even coats – Apply the primer thinly and evenly. This prevents drips and ensures a more uniform finish.
- Brush strokes – When using a brush, apply the primer with long, smooth strokes in the wood grain’s direction.
- Multiple coats – Let the primer dry completely between coats. Applying multiple thin layers of paint yields better results than a single thick coat.
- Ventilation – Ensure the area is well-ventilated to speed up drying time and reduce the buildup of fumes.
- Follow manufacturer’s instructions – Adhere to the instructions provided by the primer manufacturer for optimal results.
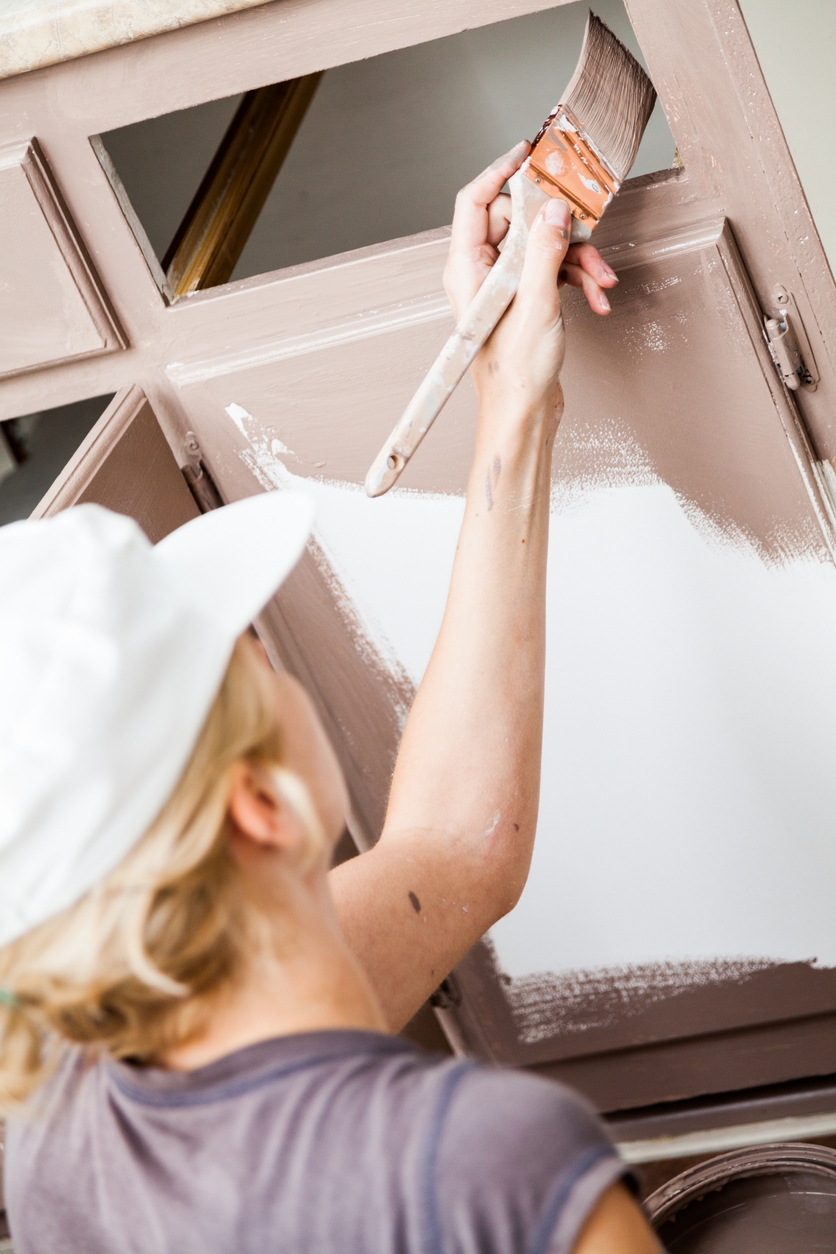
Painting for a flawless finish
Choosing the right paint
- Finishes – Semi-gloss and high-gloss finishes are ideal for kitchen cabinets. They are durable and easy to clean. They also resist moisture, stains, and grease, commonly seen in kitchen environments.
- Formulas – Acrylic latex paint is durable and easy to clean. Oil-based paints offer a smoother finish and superior durability but have longer drying times and require solvents for cleanup. Hybrid enamels combine the benefits of acrylic and oil-based paints, offering a smooth finish and durability with easier water cleanup.
Painting techniques
Brush:
- Pros: Ideal for detailed work and edges, provides good control.
- Cons: Can leave brush marks, slower application.
Roller:
- Pros: Faster application over large surfaces, provides a smooth finish with fewer marks.
- Cons: Not suitable for detailed areas, can leave a textured finish if not used properly.
Spray:
- Pros: Provides the smoothest finish and covers large areas quickly and evenly.
- Cons: Requires more preparation (masking off areas), equipment, ventilation, and higher risk of overspray.
Applying multiple coats
- Drying times – Allow each coat to dry thoroughly before applying the next. Typically, wait at least 4 to 6 hours between coats for water-based paints and 24 hours for oil-based paints.
- Coat application – Apply at least two coats for durability and coverage. Sand lightly between coats with fine-grit sandpaper to ensure a smooth finish and good adhesion for the next coat.
Final touches and curing
Inspecting for misses and drips:
- How to correct imperfections – Inspect the painted surfaces under good lighting. Use fine-grit sandpaper to gently sand down any drips or uneven spots. Touch up the missed areas with a small brush or roller, ensuring a smooth application.
Curing process
- The time needed before the cabinets can be used – Typically, cabinets need about 7-10 days to cure completely before use. During this period, avoid heavy use to prevent damaging the finish.
Maintenance tips
Now that you have newly painted kitchen cabinets, you will want to clean them regularly and do necessary touch-ups. This will maintain the cabinets’ appearance and ability to withstand daily wear and tear and ensure your Sunol, CA are home continues to sparkle.
Regular cleaning – Maintain the finish by wiping cabinets with a damp cloth or sponge regularly to remove dust and spills. Avoid harsh chemicals or abrasive cleaners that could damage the paint.
Touch-ups – Handle chips and scratches promptly by lightly sanding the damaged area, applying a primer if necessary, and then carefully painting over it with matching paint. Ensure the touch-up paint blends seamlessly with the surrounding area for a uniform appearance.
Conclusion
Meticulous preparation is essential for a flawless finish for your kitchen cabinets. Start by thoroughly cleaning and sanding the surfaces. Next, apply a primer and let it dry completely. Choose high-quality paint or stain and apply it evenly in thin coats. Allow each coat to dry before applying the next. Take your time and pay attention to detail for lasting results that will enhance the beauty of your Sunnyvale, CA home for years to come.
Let a professional handle the job for you. Custom Painting, Inc.’s 40 years of experience have molded us into experts on many paint jobs, including cabinet painting and refinishing. Please call us at 925-866-9610 or message us here to request a free estimate.
