

Creating a chalkboard menu in your Fremont home kitchen is a fun and practical project that adds a personal touch to your home. Whether you want to keep track of your weekly meal plans, jot down grocery lists, or leave notes for your family, a chalkboard menu offers a versatile and stylish solution. It can also look great next to freshly painted cabinets as well.
In this article, we’ll guide you through the steps to paint your own chalkboard menu, from choosing the right materials to adding creative designs. Get ready to transform a simple wall into a functional and eye-catching feature that everyone will love!
Choosing the Right Location
Finding the perfect spot for your chalkboard menu is key to ensuring it’s both functional and aesthetically pleasing. Here are some tips to help you choose the ideal location in your kitchen.
Ideal Spots in the Kitchen for a Chalkboard Menu
When deciding where to place your chalkboard menu, consider areas that are easily accessible and frequently used. Popular spots include:
- Near the refrigerator: This is a convenient location for jotting down items you need to buy while checking your fridge.
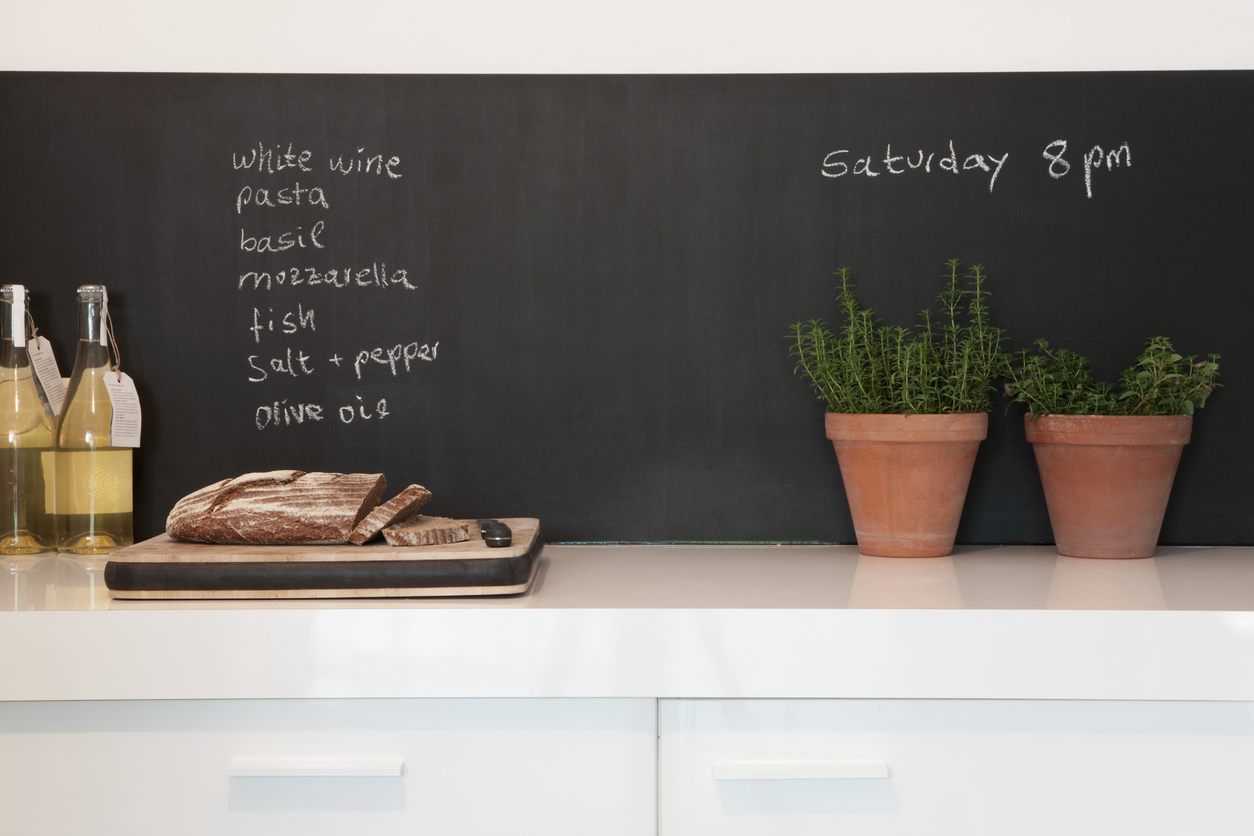
- Above a countertop: Placing the menu above a counter where you prepare meals can be handy for quick reference to recipes or meal plans.
- On a pantry door: This keeps your menu out of the way but still easily visible when you need it.
Considerations for Visibility and Convenience
Ensure the location you choose is easy to see and reach for everyone in the household. Think about the lighting in the area – good lighting will make your menu easier to read. Also, consider the height at which you place the chalkboard to make sure it’s accessible for writing and reading without straining.
Measuring the Space
Before you start painting, measure the space where you plan to put your chalkboard menu. Use a tape measure to determine the height and width of the area. This will help you buy the right amount of chalkboard paint and ensure your menu fits perfectly. Mark the boundaries with painter’s tape to visualize the size and location of your chalkboard before you begin.
By carefully choosing the right location, you can create a chalkboard menu that is both useful and enhances the look of your kitchen.
Materials and Tools Needed
Creating a chalkboard menu in your kitchen requires a few essential materials and tools to ensure a smooth and professional-looking finish. Here’s what you’ll need to get started.
Chalkboard Paint and Primer
- Chalkboard Paint: This is the star of your project. Chalkboard paint comes in a variety of colors, but classic black or green are the most popular choices. Choose a high-quality chalkboard paint that is durable and easy to clean.
- Primer: Before applying chalkboard paint, it’s crucial to use a primer. Primer helps the paint adhere better to the surface and ensures a smoother finish. Make sure to select a primer that is compatible with your chalkboard paint.
Brushes, Rollers, and Painter’s Tape
- Brushes and Rollers: You’ll need a good-quality brush or roller to apply the primer and chalkboard paint. For larger areas, a roller will help you cover more surface quickly and evenly. Use a brush for smaller or more detailed areas to ensure precision.
- Painter’s Tape: Painter’s tape is essential for creating clean, sharp edges around your chalkboard menu. It helps to mark the boundaries and protects adjacent areas from stray paint.
Cleaning Supplies and Level
- Cleaning Supplies: Before you start painting, make sure the surface is clean and smooth. Use a mild cleaner to remove any grease or dirt from the wall. Sandpaper can help smooth out any rough spots to ensure the paint adheres well.
- Level: A level is crucial for making sure your chalkboard menu is straight and even. Use it to check the alignment of the painter’s tape and the final chalkboard surface.
Having the right materials and tools on hand will make your project easier and more enjoyable. With these items ready, you’ll be well-prepared to create a stylish and functional chalkboard menu in your kitchen.
Preparing the Surface
Proper preparation is essential to achieve a smooth and durable chalkboard menu in your kitchen. Here’s how to get your wall ready for painting.
Cleaning and Sanding the Wall
Start by thoroughly cleaning the wall where you’ll be painting your chalkboard menu. Use a mild detergent and water to remove any grease, dust, or dirt. This ensures that the paint adheres well to the surface.
Once the wall is clean and dry, inspect it for any bumps or imperfections. Use sandpaper to smooth out any rough spots or uneven areas. Sanding the wall helps create a uniform surface, allowing the primer and chalkboard paint to go on smoothly.
Applying Primer
After sanding, it’s time to apply the primer. Primer is essential for ensuring that the chalkboard paint adheres properly and lasts longer. Use a roller for larger areas and a brush for edges and corners.
Apply a thin, even coat of primer to the entire surface. Make sure to cover all areas where you plan to apply chalkboard paint. Allow the primer to dry completely according to the manufacturer’s instructions, usually a few hours.
Ensuring a Smooth and Even Surface
Once the primer is dry, inspect the surface again. If you notice any remaining rough spots or imperfections, sand them lightly. Wipe away any dust with a damp cloth.
Next, use painter’s tape to mark off the boundaries of your chalkboard menu. This helps create clean, sharp edges and protects the surrounding areas from stray paint.
With the wall cleaned, sanded, and primed, you now have a smooth and even surface ready for painting. Proper preparation ensures that your chalkboard menu will not only look great but also stand the test of time.
Painting the Chalkboard
Now that your surface is prepared, it’s time to apply the chalkboard paint. Follow these steps to ensure a durable and smooth finish.
Step-by-Step Guide to Applying Chalkboard Paint
- Mix the Paint: Stir the chalkboard paint thoroughly before you begin. This ensures that the pigments are evenly distributed for a consistent color.
- First Coat: Using a high-quality roller for larger areas and a brush for edges and corners, apply the first coat of chalkboard paint. Roll or brush in one direction to minimize streaks.
- Drying Time: Allow the first coat to dry completely. This usually takes a few hours, but refer to the paint manufacturer’s instructions for specific drying times.
- Second Coat: Apply a second coat of paint, this time rolling or brushing in the opposite direction of the first coat. This helps to create a more even surface.
- Additional Coats: Depending on the coverage and depth of color, you may need a third coat. Allow each coat to dry thoroughly before applying the next.
Number of Coats Needed for Durability
For most chalkboard paints, two to three coats are recommended for optimal durability and coverage. Ensure each coat is thin and even, as thick coats can lead to streaks and bubbles.
Tips for Avoiding Streaks and Bubbles
- Consistent Pressure: Apply consistent pressure with your roller or brush to avoid creating streaks.
- Smooth Strokes: Use smooth, even strokes and avoid overworking the paint. Rolling or brushing too much can cause streaks and bubbles.
- Proper Drying Time: Allow each coat to dry fully before applying the next one. Rushing this process can trap air and moisture, leading to bubbles.
- High-Quality Tools: Use high-quality brushes and rollers designed for smooth finishes. Cheap or worn-out tools can leave fibers or create an uneven surface.
By following these steps and tips, you’ll achieve a smooth and durable chalkboard finish that’s perfect for your Sunnyvale home’s kitchen menu. Enjoy your new, functional addition to your home!
Finishing Touches and Maintenance
With your chalkboard menu painted, it’s time to add the finishing touches and learn how to maintain it for long-lasting use.
Curing the Chalkboard Surface
After the final coat of chalkboard paint has dried completely, the surface needs to be cured. This helps prevent permanent marks and makes the chalkboard easier to write on and erase.
- Wait Time: Allow the paint to cure for at least 72 hours after the last coat. This ensures that the paint has fully set and hardened.
- Initial Cleaning: Wipe the surface with a damp cloth to remove any dust or debris that may have settled on the paint.
Tips for Seasoning the Chalkboard
Seasoning your chalkboard is a crucial step to prevent ghosting (residual chalk marks that won’t erase).
- Sidewalk Chalk: Use the side of a piece of white sidewalk chalk to rub the entire surface of the chalkboard. Cover it completely with a light layer of chalk.
- Wipe Off: Use a soft, dry cloth to wipe off the chalk. Do not use water during this step. This process fills the porous surface with chalk dust, making it easier to erase future markings.
Ideas for Decorating and Using the Chalkboard Menu
Your new chalkboard menu can be both a practical tool and a creative outlet. Here are some ideas to get you started:
- Meal Planning: Write out weekly meal plans to keep your family informed and organized.
- Grocery Lists: Create a section for grocery lists, making it easy to add items as you run out.
- Inspirational Quotes: Add a bit of flair with daily or weekly inspirational quotes or messages.
- Artwork: Draw seasonal decorations or let your kids add their own artwork for a personal touch.
- Menus: If you entertain often, write out the menu for your guests to see.
Maintenance Tips for Keeping the Chalkboard Looking Fresh
To ensure your chalkboard menu remains clean and easy to use, follow these maintenance tips:
- Regular Cleaning: Wipe down the chalkboard with a damp cloth regularly to remove chalk dust. For a deeper clean, use a chalkboard-specific cleaner or a mixture of water and vinegar.
- Avoid Abrasive Materials: Do not use abrasive sponges or harsh chemicals that could damage the surface.
- Re-seasoning: Periodically re-season the chalkboard by repeating the seasoning process to maintain its ease of use.
- Prevent Smudging: Use high-quality chalk or chalk markers to reduce smudging and ensure clear writing.
By taking these steps, you’ll keep your chalkboard menu looking fresh and functional, making it a delightful addition to your Milpitas kitchen for years to come.
Final Thoughts
Creating a chalkboard menu in your kitchen is a fun and practical way to keep your home organized and stylish. With the right materials, careful preparation, and a bit of creativity, you can transform any wall into a functional and attractive feature. If you need professional help with your painting project, contact Custom Painting, Inc. at 925-866-9610 or reach out through our contact form. Let us help you bring your vision to life!
