
A deck is more than a mere outdoor space for Santa Clara and Bay Area homeowners. It’s an extension of your home as a versatile area for relaxation, enjoyment, and family gatherings. It also enhances your home’s aesthetic appeal and potentially boosts its value. But over time, elements like foot traffic and weather can take a toll on your deck, leaving it a little worse for wear.
The good news is that you can refresh your deck’s appearance by painting it. Proper preparation is the key to a smooth paint finish. Cleaning, sanding, and repairing damaged areas ensures the new paint adheres well and resists peeling or cracking. Skipping prep can lead to a shorter lifespan and uneven paint appearance. While this can be a DIY project, hiring a professional ensures thorough preparation and optimal results, especially for complex or large decks.
Assessing the condition of the deck
- Inspect for damage: Look for loose or damaged boards, nails, or screws. Warped or cracked wood needs replacing, and any loose fasteners should be secured to prevent accidents and ensure a smooth surface for painting.
- Check for rot or mildew: Moisture issues can lead to wood rot or mildew growth. Look for soft or discolored areas, especially around joints or under furniture. Rot should be removed and replaced, and mildew should be cleaned with a water-and-bleach solution.
- Surface condition: Examine the current finish for peeling, cracking, or fading paint or stain. A deck with significant peeling may require stripping or sanding to provide a clean surface for the new paint to adhere properly.
Gathering tools and materials
Essential tools:
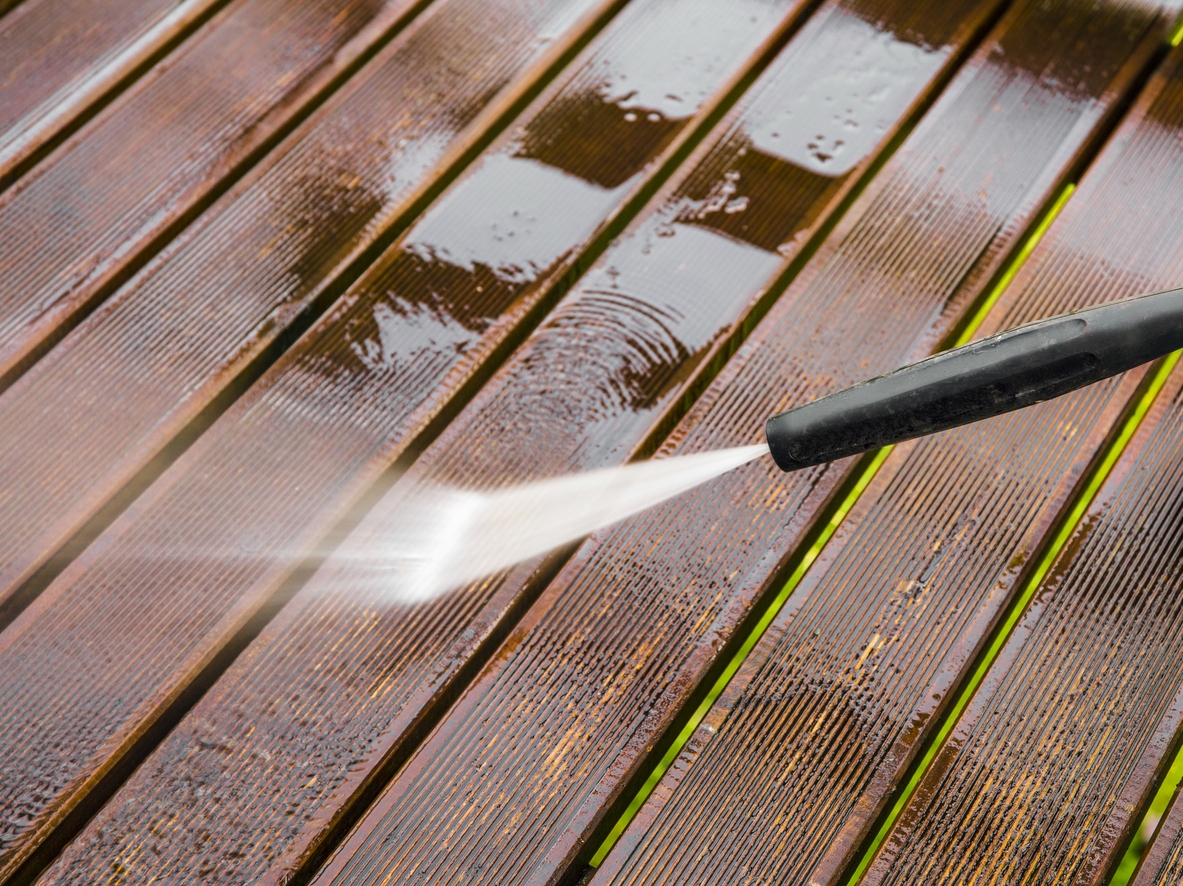
- Power washer: Power washing is very effective for thoroughly cleaning the deck surface and removing dirt, mildew, and old paint.
- Scraper: To remove any peeling paint or loose stain.
- Sandpaper: For smoothing rough areas and prepping the surface for paint adherence.
- Putty knife: Useful for applying wood filler or putty to damaged areas.
- Hammer: For securing loose boards or nails.
Cleaning supplies:
- Deck cleaner: To effectively remove dirt, grime, and old finishes.
- Mildew remover: To tackle any mold or mildew present on the deck.
- Stiff-bristle brush: For scrubbing the deck thoroughly, especially in crevices.
- Bucket and hose: For rinsing off cleaning agents after scrubbing.
Repair materials:
- Deck screws & nails: To replace any rusted, loose, or missing fasteners that hold the deck together.
- Wood filler: For repairing small cracks, holes, and gaps in the wood.
- Wood repair putty: Useful for filling deeper gouges or imperfections.
Cleaning the deck thoroughly
Step 1: Sweep and remove debris
Use a stiff broom or blower to clear off any loose dirt, leaves, or twigs. Pay attention to corners and crevices where debris tends to accumulate.
Step 2: Use a deck cleaner
Apply the deck cleaner with a pump sprayer or roller, following the manufacturer’s instructions. Let it sit for the recommended time (usually 10–15 minutes), then scrub the surface with a stiff bristle brush.
For deeper cleaning, you can use a power washer but set it to a gentle pressure (around 500–600 psi) to avoid damaging the wood.
Step 3: Rinse and let It dry
Rinse the deck thoroughly with a garden hose or power washer at a lower setting. Ensure no cleaner residue is left behind. After rinsing, let the deck dry for 24–48 hours. Check the weather forecast to ensure there is no rain or high humidity that could delay the drying process.
Removing old paint or stain
When removing old paint or stain from a deck, following these steps will ensure the surface is properly prepared for a new coat:
Step 1: Scrape peeling paint
Start by using a scraper to remove any loose or flaking paint. Work systematically across the deck, making sure to remove all peeling sections. Take care around edges and corners, as these areas tend to accumulate more paint layers.
Step 2: Sand the surface
After scraping, sand the deck with coarse-grit sandpaper to smooth rough spots and eliminate old paint or stain remnants. Sanding also helps even out the surface where paint has peeled or bubbled, ensuring better adhesion of the new finish. For larger decks, using a belt or orbital sander can make the process faster.
Step 3: Power wash (if necessary)
Use a power washer to remove any debris or paint chips left after sanding (if needed). Don’t set the pressure too high, as this could damage the wood fibers. Once power washed, allow the deck to dry thoroughly before applying the new paint or stain.
Repairing and filling damaged areas
When repairing and filling damaged areas of an old deck before painting, it’s crucial to ensure a smooth and stable surface for the best results. Here’s a detailed approach:
Step 1: Replace damaged boards:
Inspect the deck for warped, rotten, or severely damaged boards. These should need replacement, as they can weaken the structure and affect the final finish. Use pressure-treated lumber to prevent future rot and ensure durability.
Step 2: Fill cracks and holes
- For small cracks, gaps, or nail holes, use a high-quality wood filler or exterior-grade putty. Make sure to apply it generously to the damaged areas, smoothing it out with a putty knife.
- Once the filler dries (according to the product’s directions), sand it down until it’s flush with the rest of the surface to ensure a seamless finish once painted.
Step 3: Secure loose boards or nails
Check for any loose or protruding nails or screws. Hammer in any loose nails or, preferably, replace them with deck screws, which provide a more secure and longer-lasting hold. For loose boards, reattach them using screws designed for outdoor use.
Sanding for a smooth surface
Sanding the deck is crucial to achieving a smooth surface before painting. Here’s a brief overview:
Step 1: Sand the entire deck
Use medium-grit sandpaper (around 80 to 120 grit) to sand the entire deck surface. It helps to smooth out rough spots, edges, and corners, creating an even base for paint adhesion. Focus on areas where the wood may have splintered or raised grain due to weather exposure.
Step 2: Remove dust
Once sanding is complete, it’s essential to eliminate all dust and debris. Sweep or vacuum the deck thoroughly and wipe it down with a damp cloth. This step ensures the surface is clean and dust-free, preventing imperfections in the paint finish.
Priming the deck
Why priming is crucial:
Priming a deck is crucial for several reasons. First, a high-quality primer helps the paint adhere better to the wood, ensuring a durable bond that reduces the risk of peeling or chipping. It is beneficial for outdoor surfaces exposed to weather elements.
Additionally, primer improves the durability of the paint, providing extra protection against moisture, UV rays, and other environmental factors. It also creates a uniform surface, helping to enhance the overall appearance of the finished paint job by reducing the visibility of wood grain and imperfections.
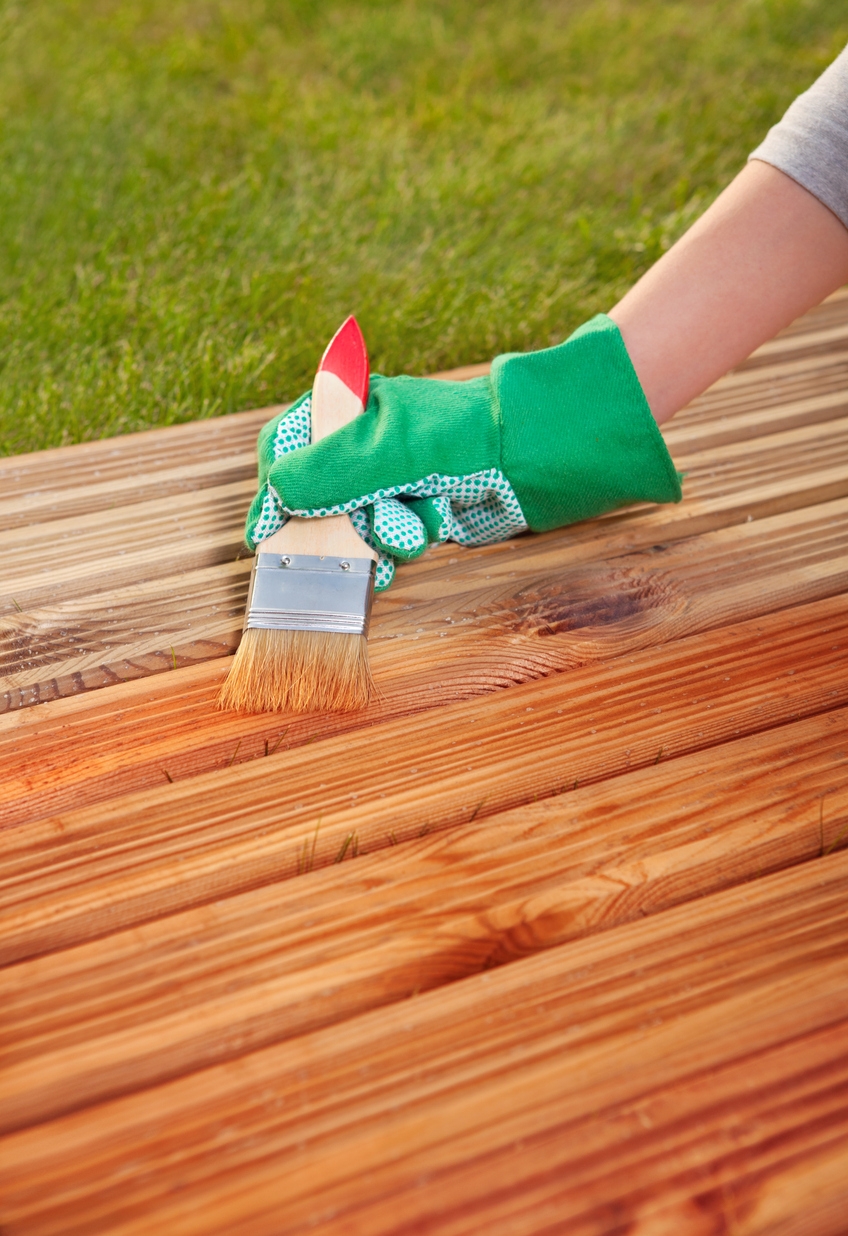
Applying the primer
- When applying primer, use a high-quality outdoor wood primer designed for decks.
- Ensure the deck is clean and dry, then apply the primer evenly across the entire surface using a brush, roller, or sprayer.
- Ensure to cover all areas, including edges and corners, for consistent coverage.
- Allow the primer to dry according to the manufacturer’s instructions before proceeding with the paint application. This will ensure optimal adhesion and performance of the topcoat.
Additional tips for deck preparation
Here are some additional tips for deck preparation:
- Inspect hardware: Check all screws, nails, and fittings for rust or damage. Replace any corroded hardware to ensure structural integrity.
- Moisture test: Before starting, use a moisture meter or conduct a water test by sprinkling water on the deck. If it beads up, the surface may need more cleaning or treatment.
- Remove furniture and accessories: Clear the deck of all furniture, planters, and accessories to provide an unobstructed workspace.
- Use drop cloths: To prevent paint splatters on plants, patios, or siding, protect surrounding areas with drop cloths.
- Sand rough spots: Smooth out rough or splintered areas with sandpaper or a power sander to create a better surface for paint adherence.
- Choose the right tools: Invest in quality brushes, rollers, and applicators designed for deck surfaces for better coverage and finish.
- Follow manufacturer instructions: For optimal results, always adhere to the product instructions for application, drying times, and the recommended number of coats.
Why hire a professional residential painter?
Expert reparation and thoroughness
Professional painters in Fremont and surrounding areas understand the importance of preparation in achieving a successful paint job. They meticulously handle every aspect, from thoroughly cleaning the deck to removing old paint and repairing any damage. It ensures the surface is ready for painting, significantly contributing to the finish’s longevity and quality.
Long-lasting results
Professional painters ensure that the paint adheres well and withstands the elements by using high-quality materials and proven techniques. Their expertise in selecting the suitable paint type and applying it correctly leads to a durable finish that looks aesthetically pleasing and lasts longer than DIY efforts.
Efficient process
Hiring Sunnyvale area professionals means you benefit from an efficient process that minimizes downtime. Experienced painters can complete the job quickly without sacrificing quality, allowing you to enjoy your deck sooner. Their ability to work systematically and effectively means less disruption to your routine and quicker access to your outdoor space.
Parting words
Preparing an old deck before painting is crucial for achieving a long-lasting finish. From thorough cleaning and sanding to making necessary repairs, each step contributes to the durability and appearance of your new paint job.
Homeowners should take the time to properly prepare their deck to ensure it withstands the test of time. If you’re considering a professional touch, contact Custom Painting, Inc. at 925-866-9610 or use our contact page for a free consultation or quote on our deck painting services. Let our team of paint experts ensure we do the job right the first time!
