
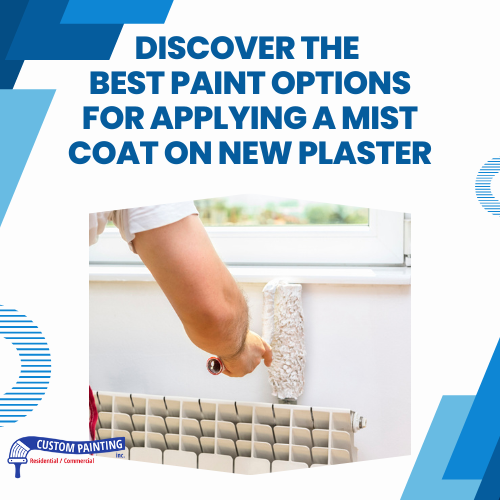
When you’re faced with freshly laid plaster in a Fremont home, determining the best interior painting approach can be hard to do. For example, knowing how to apply a mist coat properly can be the key to a flawless finish. A mist coat is essential as the initial layer of paint, designed to penetrate and seal the porous surface of new plaster, ensuring a durable and even topcoat.
This article discusses the best paint options for this critical first step, providing insights into the types of paints most suited for the task, practical tips for mixing and applying the coat, and expert advice to help you achieve professional-quality results. Whether you’re a DIY enthusiast or a seasoned painter, understanding the right products and techniques can make all the difference in your project.
Understanding a Mist Coat
A mist coat serves as a fundamental step in preparing new plaster for painting, acting almost like a primer, although it differs slightly in composition and purpose. When plaster dries, it leaves a highly absorbent surface that can unevenly soak up the paint applied over it, leading to patches and an uneven finish. This is where a mist coat comes into play.
Definition and Purpose of a Mist Coat
A mist coat is a diluted paint application typically made from water-based emulsion paint. This coat is thinned substantially with water — usually at a ratio of about 70% paint to 30% water, though this can vary depending on the paint brand and plaster condition. The thinning process helps the paint soak into the plaster, sealing its porosity and providing a stable surface that binds well with subsequent layers of paint.
The primary purpose of applying a mist coat is to seal the new plaster, reducing its absorbency. This initial layer penetrates the plaster, ensuring that later applications of paint dry uniformly and adhere properly without being absorbed too deeply, which can waste paint and reduce coverage.
Role of a Mist Coat in Achieving a Durable and Smooth Finish
The mist coat is crucial in ensuring the final paint job is durable and aesthetically pleasing. By sealing the plaster’s porosity, the mist coat prevents the top layers of paint from sinking in, which can cause patchiness or an uneven sheen. This foundational layer helps to achieve a smooth and consistent finish across the wall, enhancing both the appearance and longevity of the paintwork.
In essence, skipping the mist coat could lead to paint flaking, peeling, or an uneven color and finish, making it an essential step for anyone looking to achieve professional results in painting new plaster. Whether you’re refreshing a room or finishing a new construction project, understanding and applying a proper mist coat can significantly impact the quality and durability of your paint job.
The Criteria for Choosing the Right Paint for a Mist Coat
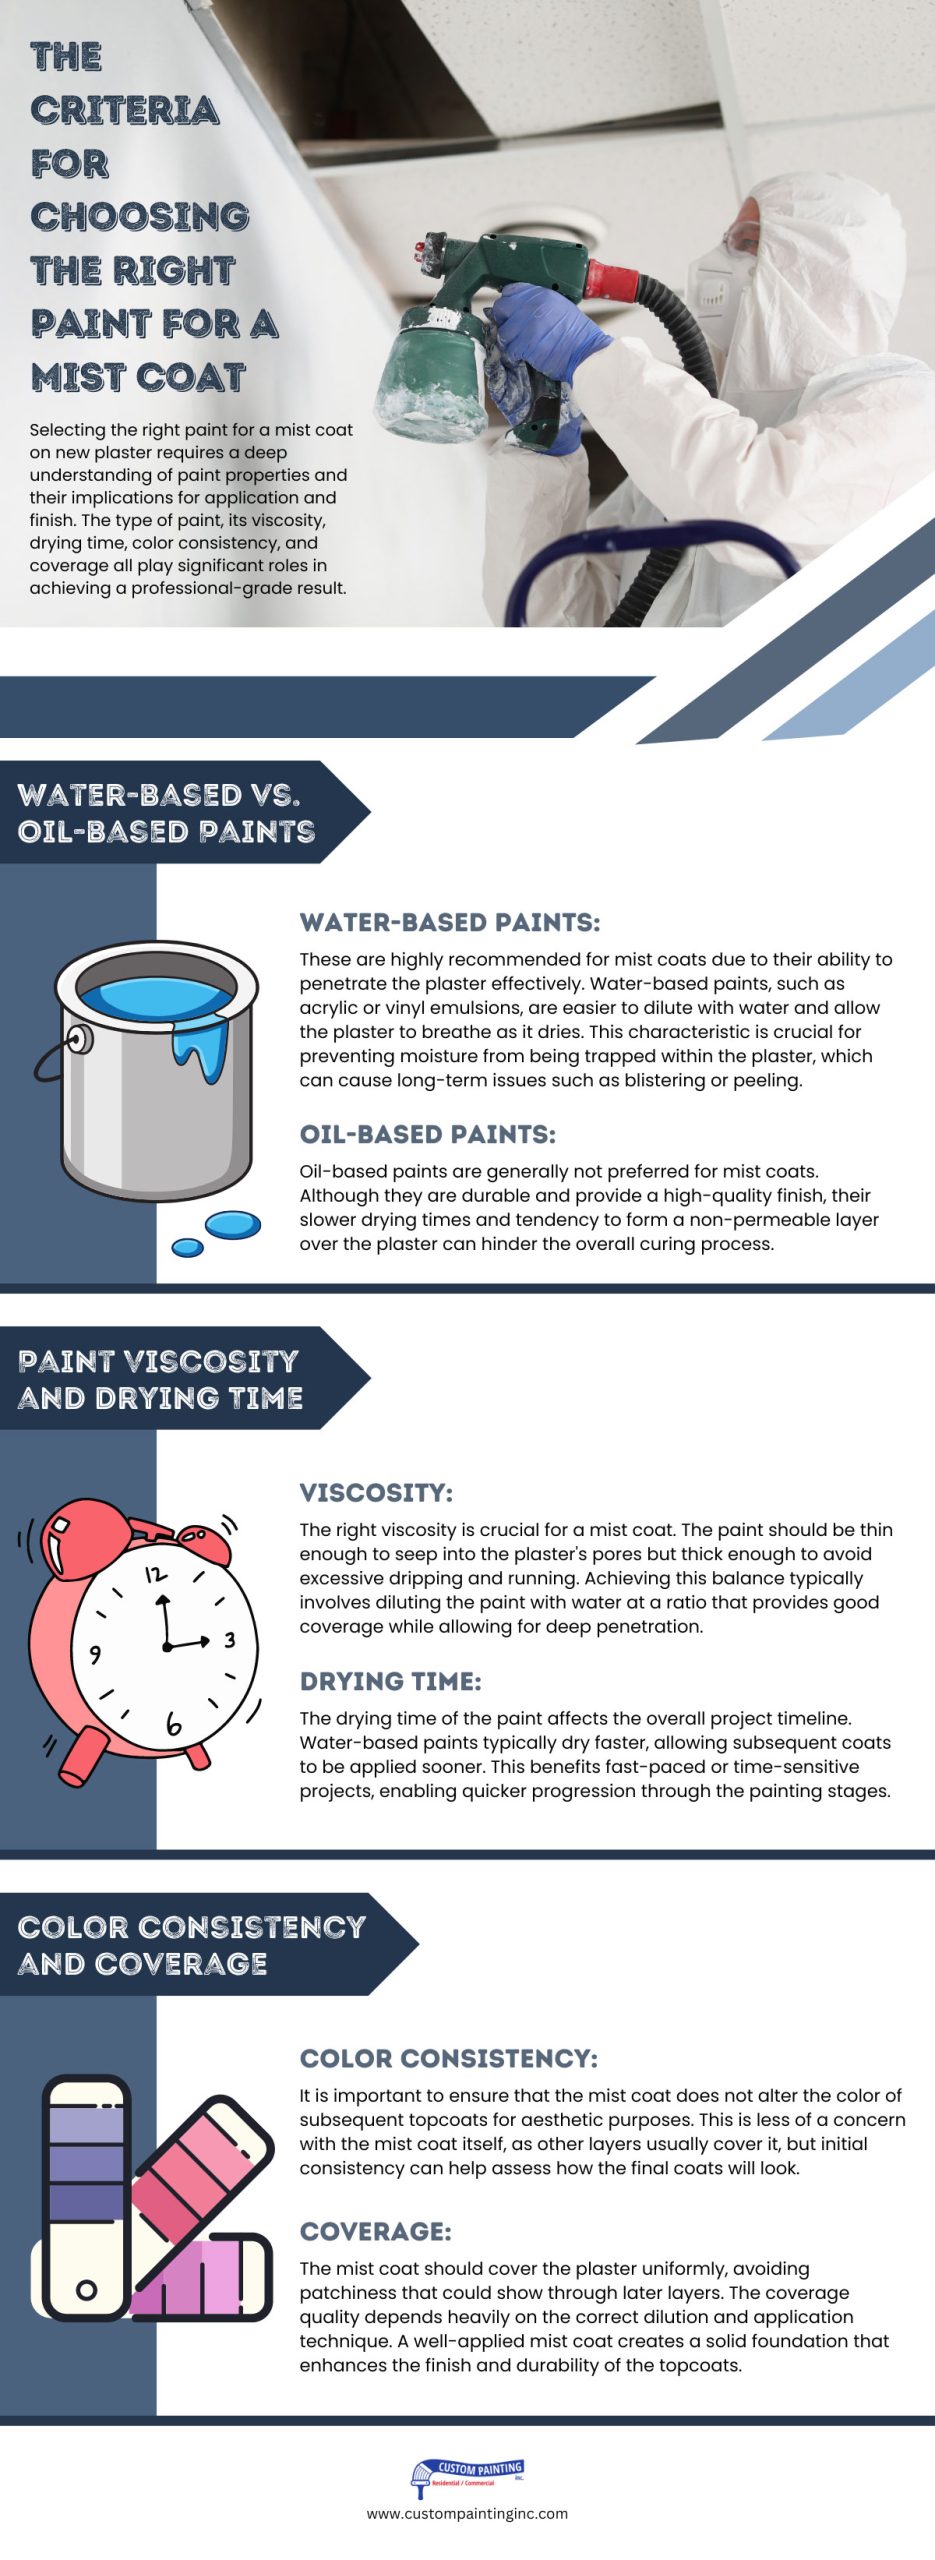
Selecting the right paint for a mist coat on new plaster requires a deep understanding of paint properties and their implications for application and finish. The type of paint, its viscosity, drying time, color consistency, and coverage all play significant roles in achieving a professional-grade result.
Water-based vs. Oil-based Paints
- Water-based Paints: These are highly recommended for mist coats due to their ability to penetrate the plaster effectively. Water-based paints, such as acrylic or vinyl emulsions, are easier to dilute with water and allow the plaster to breathe as it dries. This characteristic is crucial for preventing moisture from being trapped within the plaster, which can cause long-term issues such as blistering or peeling.
- Oil-based Paints: Oil-based paints are generally not preferred for mist coats. Although they are durable and provide a high-quality finish, their slower drying times and tendency to form a non-permeable layer over the plaster can hinder the overall curing process.
Paint Viscosity and Drying Time
- Viscosity: The right viscosity is crucial for a mist coat. The paint should be thin enough to seep into the plaster’s pores but thick enough to avoid excessive dripping and running. Achieving this balance typically involves diluting the paint with water at a ratio that provides good coverage while allowing for deep penetration.
- Drying Time: The drying time of the paint affects the overall project timeline. Water-based paints typically dry faster, allowing subsequent coats to be applied sooner. This benefits fast-paced or time-sensitive projects, enabling quicker progression through the painting stages.
Color Consistency and Coverage
- Color Consistency: It is important to ensure that the mist coat does not alter the color of subsequent topcoats for aesthetic purposes. This is less of a concern with the mist coat itself, as other layers usually cover it, but initial consistency can help assess how the final coats will look.
- Coverage: The mist coat should cover the plaster uniformly, avoiding patchiness that could show through later layers. The coverage quality depends heavily on the correct dilution and application technique. A well-applied mist coat creates a solid foundation that enhances the finish and durability of the topcoats.
Choosing the right paint for a mist coat involves balancing these factors to ensure that the plaster is adequately prepared for the final painting. Water-based paints generally provide the best results due to their compatibility with the requirements of new plaster surfaces.
Recommended Paint Options for a Mist Coat
When selecting the appropriate paint for a mist coat on new plaster, understanding the advantages of different types and specific recommended products can significantly affect the outcome of your painting project. Below, we explore two popular options for mist coats: water-based emulsion paints and vinyl matte emulsions, detailing their benefits and providing recommendations on the best products to use.
1. Water-Based Emulsion Paints
Advantages:
- Quick Drying: Water-based emulsions dry faster than oil-based paints, reducing waiting times between coats and speeding up the overall painting process.
- Easy Application: These paints are easier to apply because they can be thinned with water to achieve the ideal consistency for a mist coat. This makes them very user-friendly, especially for DIY decorators.
- Low Odor: Compared to oil-based paints, water-based emulsions have a significantly lower odor, making them more suitable for indoor use where ventilation might be limited.
Recommendations:
- Dulux Trade Supermatt: This product is specifically designed for new plaster. Its high opacity and ability to be thinned make it an excellent choice for a mist coat, ensuring good coverage and adhesion for subsequent topcoats.
- Johnstone’s Covaplus Vinyl Matt: Known for its superb flow and leveling properties, this paint is another great option for new plaster. It can be diluted and applied smoothly, providing a strong foundation for further painting.
2. Vinyl Matte Emulsions
Advantages:
- Durability: Vinyl matte emulsions are known for their robustness, making them suitable for surfaces that require a hard-wearing finish.
- Ease of Application: Like water-based emulsions, vinyl matte paints can be easily diluted and applied uniformly, providing a smooth base without the hassle of brush marks or unevenness.
- Matte Finish: The matte quality of these paints helps mask imperfections in the plaster, which is particularly useful in older buildings or where the plastering may not be perfectly smooth.
Recommendations:
- Leyland Trade Contract Matt: This paint is highly favored for its coverage and ease of use on new plaster. It is particularly effective in large areas where consistency in appearance is key.
- Crown Trade Matt Vinyl Emulsion: Offering a balance between quality and affordability, this vinyl matte emulsion is another excellent choice for new plaster. It provides a durable and even finish that prepares the wall well for any decorative topcoat.
When preparing new plaster for painting, choosing the right type of mist coat is crucial. Water-based and vinyl matte emulsions offer specific advantages that can enhance your paint job’s final look and longevity. By selecting a product tailored to new plaster needs, such as those listed above, you can ensure a successful application that leads to a beautiful and lasting finish.
Preparing Your Plaster for the Mist Coat
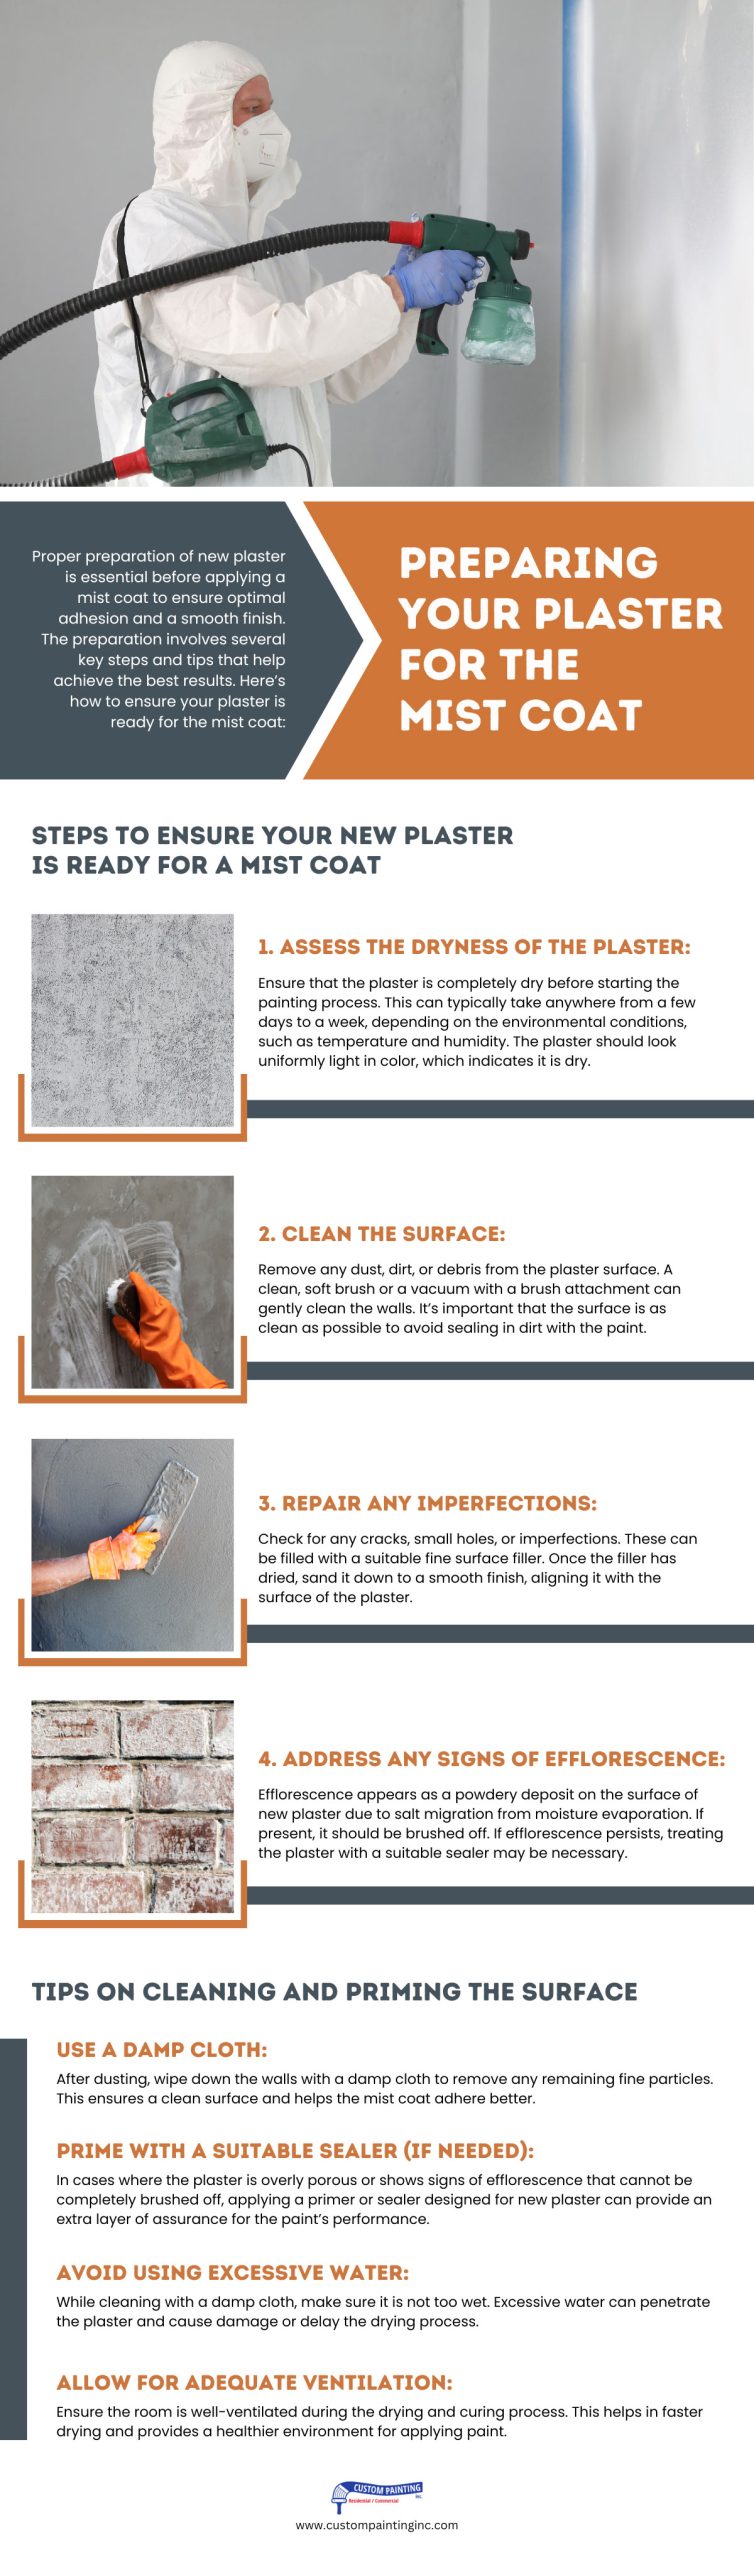
Proper preparation of new plaster is essential before applying a mist coat to ensure optimal adhesion and a smooth finish. The preparation involves several key steps and tips that help achieve the best results. Here’s how to ensure your plaster is ready for the mist coat:
Steps to Ensure Your New Plaster is Ready for a Mist Coat
- Assess the Dryness of the Plaster: Ensure that the plaster is completely dry before starting the painting process. This can typically take anywhere from a few days to a week, depending on the environmental conditions, such as temperature and humidity. The plaster should look uniformly light in color, which indicates it is dry.
- Clean the Surface: Remove any dust, dirt, or debris from the plaster surface. A clean, soft brush or a vacuum with a brush attachment can gently clean the walls. It’s important that the surface is as clean as possible to avoid sealing in dirt with the paint.
- Repair Any Imperfections: Check for any cracks, small holes, or imperfections. These can be filled with a suitable fine surface filler. Once the filler has dried, sand it down to a smooth finish, aligning it with the surface of the plaster.
- Address Any Signs of Efflorescence: Efflorescence appears as a powdery deposit on the surface of new plaster due to salt migration from moisture evaporation. If present, it should be brushed off. If efflorescence persists, treating the plaster with a suitable sealer may be necessary.
Tips on Cleaning and Priming the Surface
- Use a Damp Cloth: After dusting, wipe down the walls with a damp cloth to remove any remaining fine particles. This ensures a clean surface and helps the mist coat adhere better.
- Prime with a Suitable Sealer (if needed): In cases where the plaster is overly porous or shows signs of efflorescence that cannot be completely brushed off, applying a primer or sealer designed for new plaster can provide an extra layer of assurance for the paint’s performance.
- Avoid Using Excessive Water: While cleaning with a damp cloth, make sure it is not too wet. Excessive water can penetrate the plaster and cause damage or delay the drying process.
- Allow for Adequate Ventilation: Ensure the room is well-ventilated during the drying and curing process. This helps in faster drying and provides a healthier environment for applying paint.
By following these steps and tips, you ensure that the plaster is in optimal condition for applying a mist coat. Proper preparation not only facilitates better paint application but also enhances the longevity and aesthetics of the paint job, providing a satisfying outcome for your painting project.
Applying the Mist Coat
Applying a mist coat is a critical step in painting new plaster, as it helps to seal the surface and ensure even coverage and adhesion of subsequent topcoats. Here’s a detailed guide on mixing and applying a mist coat effectively and common mistakes to avoid during the application process.
How to Mix and Apply a Mist Coat
- Select the Right Paint: For the mist coat, use a water-based emulsion paint. This type of paint is ideal due to its compatibility with new plaster and quick-drying properties.
- Mixing the Paint: Dilute the paint with water. The typical ratio is 70% paint to 30% water, but this can vary depending on the manufacturer’s recommendations and the absorbency of the plaster. Stir thoroughly to ensure the water and paint are well mixed.
- Tools for Application: Use a roller for large, even areas and a brush for edges and corners. A medium-pile roller is best suited for applying a mist coat as it provides good coverage and can handle the thinner consistency of the diluted paint.
- Applying the Paint: Start from the top of the wall and work your way down, applying the paint in sections. Roll the paint on in a ‘W’ or ‘M’ pattern, then fill in the gaps with straight, controlled strokes to ensure even coverage. Use a brush to cut in for edges and corners, ensuring these harder-to-reach areas are not neglected.
- Allow for Adequate Drying Time: Once the mist coat is applied, allow it to dry completely before applying any additional coats. Drying times can vary, but typically, it takes about 24 hours in a well-ventilated area.
Common Mistakes to Avoid During Application
- Applying Too Thick a Coat: Avoid applying the mist coat too thickly. A mist coat should be thin enough to penetrate the plaster but not so thin that it runs down the walls. Applying it too thickly can prevent proper absorption, leading to issues with adhesion and the evenness of the subsequent paint layers.
- Insufficient Stirring: Failing to stir the paint thoroughly after dilution can lead to uneven consistency and color. Make sure the paint is well-mixed to avoid patchy results.
- Neglecting Environmental Conditions: Do not apply the mist coat in overly cold or damp conditions, as this can significantly affect the drying time and quality of the finish. Ideally, room temperature should be kept consistent to ensure optimal drying.
- Skipping Primer When Needed: In some cases, especially where the plaster shows signs of efflorescence or excessive porosity, applying a primer or sealer before the mist coat might be necessary. Skipping this step can lead to poor paint performance.
By carefully mixing and applying the mist coat while avoiding these common pitfalls, you can effectively prepare your plastered walls for a beautiful and lasting finish. Proper application enhances the aesthetic appeal and durability of the paintwork, making it a crucial step for any painting project on new plaster.
After the Mist Coat: Next Steps
Once the mist coat has been successfully applied to the new plaster, the next steps involve careful timing and techniques to ensure a beautiful and long-lasting finish. Here’s guidance on how long to wait after applying the mist coat before proceeding with additional paint layers and tips for achieving the best final finish.
Waiting Time After Applying the Mist Coat
- Drying Time: Allowing the mist coat to dry completely is crucial before applying subsequent paint layers. Typically, the drying time can range from 24 to 48 hours, depending on ambient conditions such as temperature and humidity. Ensure the room is well-ventilated to facilitate faster and more even drying.
- Check for Consistency: Before proceeding, inspect the surface to ensure it’s uniformly dry. Areas that absorb more moisture might take longer to dry, and premature painting over these areas can lead to an uneven finish.
Tips for Achieving the Best Final Finish
- Sand Smoothly If Necessary: Assess the surface for any texture inconsistencies or minor imperfections after the mist coat has dried. Lightly sanding the surface with fine-grit sandpaper can smooth out these imperfections, leading to a superior final coat. Remove all sanding dust with a clean, dry brush or cloth.
- Apply the Top Coats: Use high-quality paint for the top coats to achieve the best look and durability. Apply at least two top coats to ensure thorough coverage and depth of color. When applying each layer, use the same technique for the mist coat: apply with a roller in sections using a ‘W’ or ‘M’ pattern, then fill in with straight strokes for even coverage. Use a brush for edges and hard-to-reach areas.
- Maintain Consistent Environmental Conditions: As with the mist coat, keep the room at a consistent, suitable temperature and ensure good ventilation while the top coats dry. Avoid painting in extreme temperatures or high humidity, as these conditions can affect the finish and drying time.
- Quality of Tools: Use high-quality brushes and rollers. Good tools not only make the application easier but also help achieve a smoother, more professional finish without brush marks or lint from rollers.
- Final Inspection: After the final coat has dried, inspect your work under good lighting to check for missed spots or imperfections. Touch up as needed to ensure a uniform appearance.
Following these steps after applying a mist coat will help you achieve a robust and visually appealing finish on your newly plastered walls. Properly timed layers, combined with careful application and the right tools, will extend the life of your paint job and enhance the overall aesthetic of your space.
Conclusion
Applying a mist coat to new plaster is a crucial step in the painting process, ensuring that the final layers of paint adhere properly and look their best. By selecting the appropriate paint, properly preparing the surface, and applying the mist coat and topcoats according to best practices, you can achieve a professional-quality finish that enhances the beauty and durability of your space. Remember to allow sufficient drying time between coats and to use high-quality tools to facilitate a smooth application.
If you need further guidance or professional assistance with your painting project, don’t hesitate to contact Custom Painting, Inc. Our team of Sunol, Newark, San Jose, Sunnyvale and surrounding areas experts are ready to help you achieve the perfect finish. Contact us at 925-866-9610 or complete the form on our website to get started. We look forward to helping you transform your space with precision and style.
