
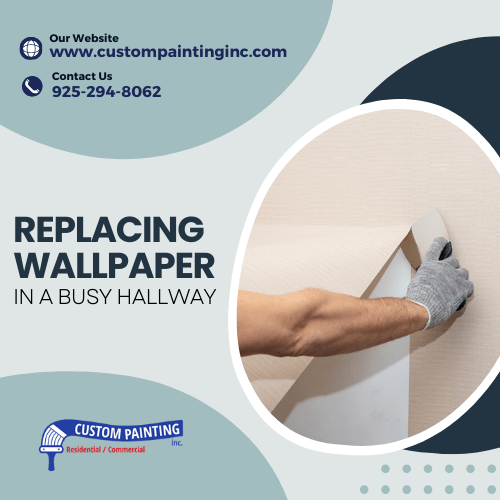
The hallway is a vital part of your Fremont area property’s aesthetic. However, it is often overlooked. As a frequently pass-through space, its appearance sets the tone for the rest of the space. This makes it essential to maintain a welcoming and visually appealing hallway. Replacing wallpaper in a hallway can rejuvenate the space especially if you replace it with faux painting or other decorative painting. It offers a fresh look that aligns with your evolving style and the wear and tear of daily use.
Considering a wallpaper replacement is crucial when signs of aging, such as peeling, fading, or stains, become noticeable. Changes in design trends or personal preferences can also prompt a desire for an update, ensuring your hallway remains a stylish and cohesive part of your property. However, it is quite challenging to replace wallpapers in a busy hallway. If this is your dilemma, we’re here to help you. In this article, we’ll provide you with ideas on how to replace wallpaper in a busy hallway.
Planning and Preparation
When it comes to refreshing the look of a busy hallway in a commercial space, meticulous planning and preparation are essential. Ensuring a smooth and efficient wallpaper replacement process can minimize disruptions and maintain the professional appearance of your business.
Assess the Current Condition
Before diving into the project, evaluate the current state of the hallway. Check for:
- Peeling or damaged wallpaper
- Stains or discoloration
- Areas prone to high traffic and wear
This assessment helps identify specific needs and areas that require extra attention during the replacement process.
Choose the Right Wallpaper
Selecting the appropriate wallpaper for a commercial hallway is crucial. Consider the following factors:
- Durability: Pick a commercial-grade wallpaper that can withstand high traffic and frequent cleaning.
- Aesthetics: Choose a design that complements your business’s branding and interior decor.
- Maintenance: Select a wallpaper that is easy to clean and maintain, ensuring it remains fresh and professional-looking over time.
Measure and Estimate
Accurate measurements are vital to avoid wastage and ensure you purchase the right amount of wallpaper. Measure the length and height of the walls, accounting for doors, windows, and other fixtures. Calculate the total area and add a little extra to cover any mistakes or pattern matching.
Plan for Minimal Disruption
Replacing wallpaper in a busy commercial hallway requires careful scheduling to minimize impact on daily operations. Consider the following strategies:
- Off-Hours Work: Plan the replacement during off-peak hours or weekends to avoid disrupting employees and customers.
- Sectional Replacement: Divide the hallway into sections and replace the wallpaper one section at a time, allowing parts of the hallway to remain accessible.
Prepare the Walls
Proper wall preparation is crucial for a smooth wallpaper application. Follow these steps:
- Remove Old Wallpaper: Strip the existing wallpaper carefully to avoid damaging the walls. Use a wallpaper steamer or remover solution if necessary.
- Repair and Clean: Patch any holes or cracks, sand the walls smooth, and clean them thoroughly to remove dust and debris.
- Prime the Walls: Apply a primer to ensure the new wallpaper adheres properly and lasts longer.
Gather the Necessary Tools and Materials
Having all the required tools and materials on hand can streamline the wallpaper replacement process. Ensure you have:
- Wallpaper rolls
- Adhesive or paste
- Cutting tools
- Smoothing tools
- Measuring tape and level
- Drop cloths to protect the floor
Hire Professionals if Needed
While some Union City, CA businesses may have the in-house expertise to handle wallpaper replacement, hiring professional installers can save time and ensure a high-quality finish. Professional wallpaper installers have the experience and tools to complete the job efficiently and to a high standard.
Careful planning and preparation for wallpaper replacement in a busy commercial hallway can help you achieve a seamless update that enhances the aesthetic appeal and functionality of your space. Proper execution of these steps will ensure a professional and durable result that will reflect positively on your business.
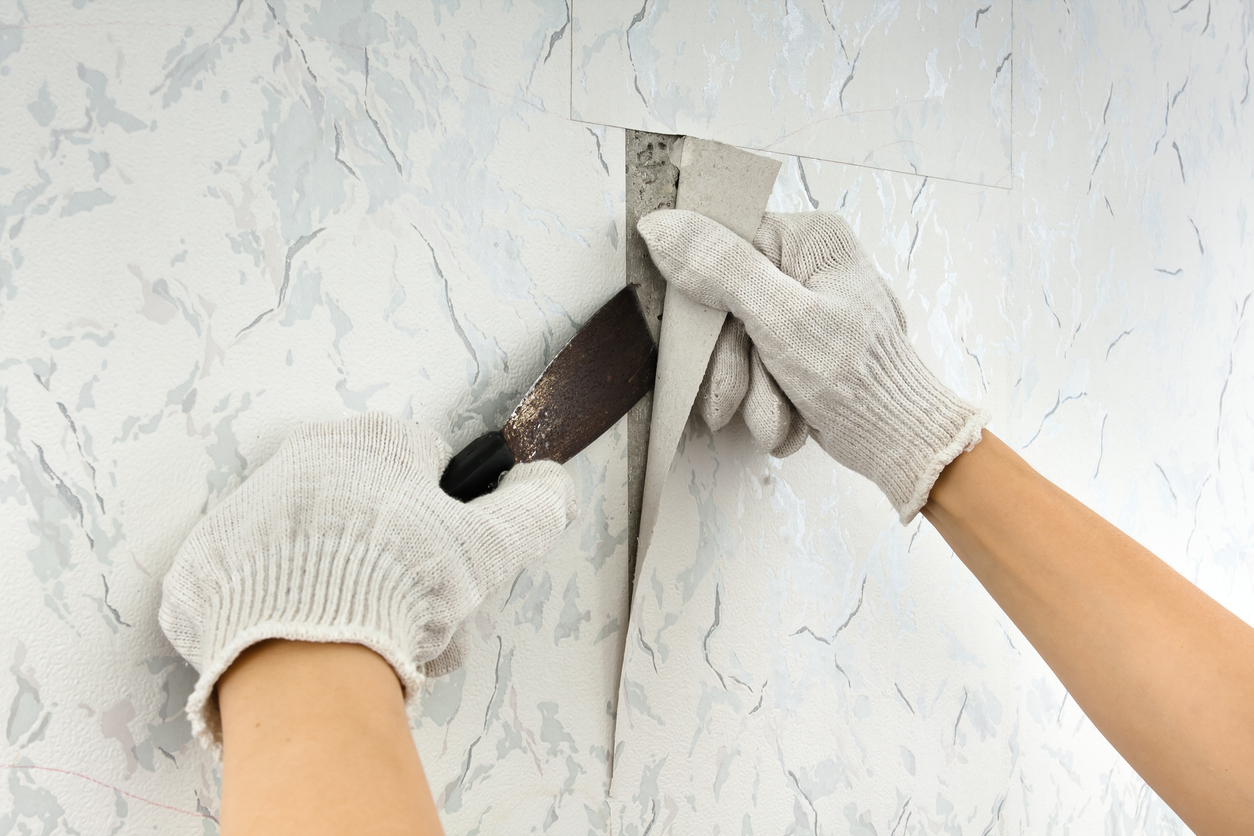
Removing Old Wallpaper
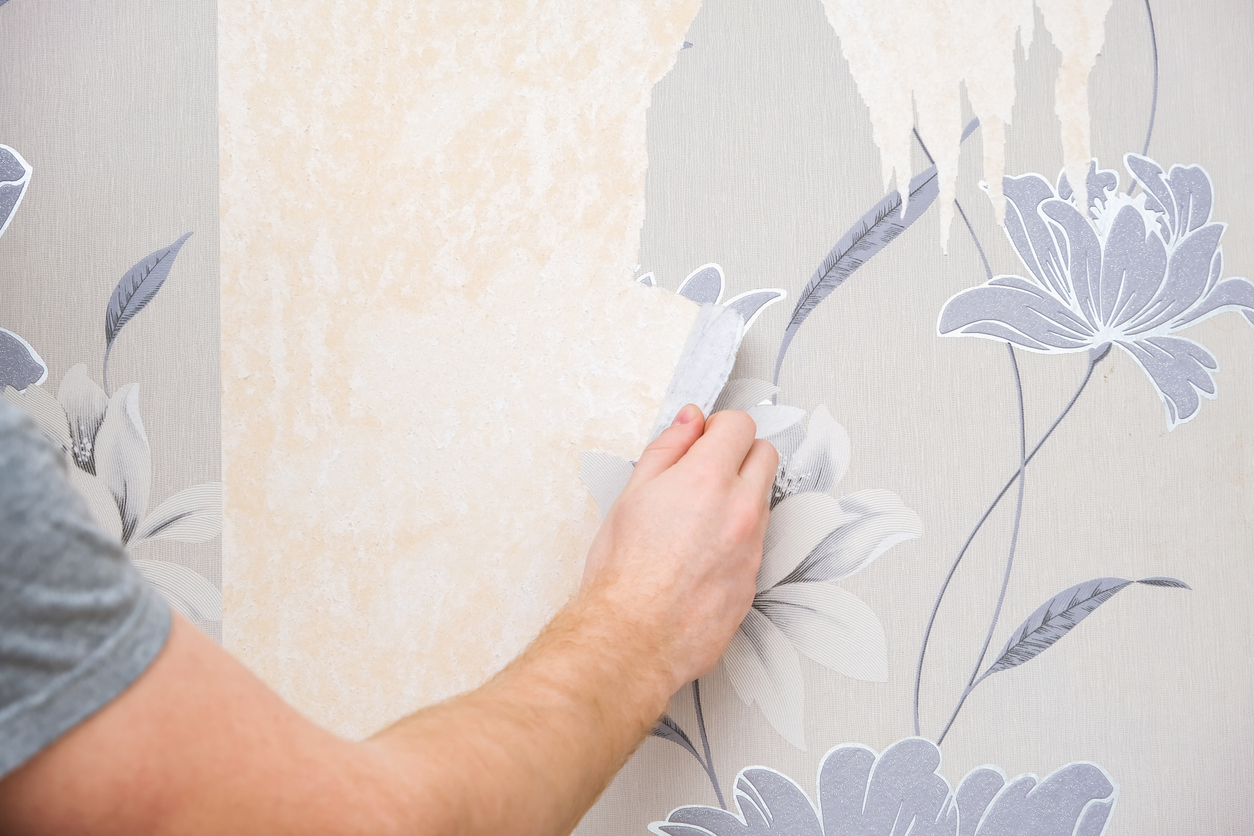
Removing old wallpaper in a commercial hallway requires careful preparation and methodical execution to ensure a clean and damage-free process. Here’s how to tackle this task efficiently.
Preparing the Area
- Protecting Floors and Adjacent Walls
Before you start removing the old wallpaper, it’s essential to protect the surrounding areas to prevent any damage and make the cleanup process easier:
- Cover the Floors: Lay down drop cloths or plastic sheeting to protect the flooring from water, adhesive, and debris.
- Protect Adjacent Walls: Use painter’s tape to secure plastic sheeting or drop cloths along the edges of adjacent walls. This will shield them from splashes and accidental damage.
- Remove or Cover Furniture: Move furniture away from the walls. Cover the furniture with plastic sheets to protect it from dust and water if moving isn’t possible.
- Organizing Tools for Easy Access
Having your tools organized and within reach will make the wallpaper removal process smoother:
- Gather Tools: Ensure you have all the necessary tools, including a wallpaper scraper, scoring tool, sponge, bucket, wallpaper steamer, and a putty knife.
- Set Up a Workstation: Create a designated area for mixing solutions and storing tools. This will help keep the workspace tidy and efficient.
Techniques for Different Wallpaper Types
The method for removing wallpaper can vary depending on the type of wallpaper and adhesive used. Here are techniques for common types:
Peelable Wallpaper:
- Start at a Corner: Gently peel back a corner of the wallpaper using a putty knife.
- Peel-Off Sheets: Slowly pull the wallpaper away from the wall in large sheets. If the wallpaper resists, use a bit of warm water to loosen the adhesive.
Traditional Wallpaper:
- Score the Wallpaper: Use a wallpaper scoring tool to perforate the surface, allowing water or remover solution to penetrate.
- Apply Remover Solution: Mix a wallpaper removal solution or use warm water and vinegar. Apply generously with a sponge.
- Wait and Scrape: Let the solution soak in for 15-20 minutes, then scrape the wallpaper off using a scraper or putty knife.
Vinyl Wallpaper:
- Peel off the Vinyl Layer: Start by peeling off the top vinyl layer. This often leaves a paper backing on the wall.
- Soak the Paper Backing: Apply a remover solution to the paper backing and allow it to soak.
- Scrape Away: Scrape off the soaked paper backing with a scraper.
Tips for Minimizing Mess and Damage
Removing wallpaper can be a messy job, but with these tips, you can minimize the mess and avoid damaging the walls:
- Work in Sections: Tackle the wallpaper removal in small sections to keep the process manageable and prevent the remover solution from drying out.
- Use Proper Tools: A sharp scraper and scoring tool will make the job easier and reduce the risk of damaging the wall surface.
- Apply Adequate Solution: Ensure the wallpaper is thoroughly soaked before attempting to scrape it off. This helps the adhesive dissolve and makes removal easier.
- Gentle Scraping: Use gentle pressure when scraping to avoid gouging the wall. If the wallpaper is stubborn, reapply the solution and wait a bit longer before trying again.
- Clean as You Go: Keep a sponge and bucket of clean water handy to wipe down the wall as you remove the wallpaper. This will help remove any remaining adhesive and keep the work area tidy.
By following these steps and tips, you can efficiently remove old wallpaper from a busy commercial hallway, preparing the space for a fresh, new look.
Preparing the Wall Surface for New Wallpaper
Properly preparing the wall surface is a crucial step to ensure the new wallpaper adheres well and looks flawless. This process involves cleaning, repairing, and priming the walls to create a smooth, even surface.
Cleaning the Walls
Thoroughly cleaning the walls is the first step in preparation:
- Remove Residue: After the old wallpaper is removed, there might be leftover adhesive residue. Use a sponge and a mild detergent solution to clean the walls. Scrub gently to avoid damaging the drywall.
- Rinse and Dry: Rinse the walls with clean water to remove any soap residue. Allow the walls to dry completely before proceeding to the next step.
- Dust and Debris: Ensure the walls are free from dust and debris. Use a vacuum with a brush attachment or a damp cloth to wipe down the walls.
Repairing the Wall Surface
Address any imperfections on the wall to create a smooth surface for the new wallpaper:
- Fill Holes and Cracks: Use a putty knife to apply spackle or joint compound to any holes, cracks, or dents. Smooth the surface with the knife and let it dry according to the manufacturer’s instructions.
- Sand the Repairs: Once the spackle is dry, sand the repaired areas with fine-grit sandpaper until they are flush with the wall surface. Wipe away any dust with a damp cloth.
- Check for Smoothness: Run your hand over the wall to ensure it is smooth and even. Address any remaining rough spots by sanding and reapplying spackle if necessary.
Priming the Walls
Priming the walls is essential for optimal wallpaper adhesion and durability:
- Select the Right Primer: Choose a high-quality primer suitable for wallpaper application. A primer-sealer is often recommended as it provides a uniform surface and seals any porous areas.
- Apply the Primer: Use a roller to apply the primer evenly across the entire wall surface. For edges and corners, use a brush to ensure full coverage. Allow the primer to dry completely, typically for 24 hours, before proceeding with wallpaper installation.
- Inspect the Surface: After the primer is dry, inspect the walls for any remaining imperfections. Lightly sand any rough spots and wipe away dust to ensure a perfectly smooth surface.
Final Checks and Touch-Ups
Before installing the new wallpaper, perform a final inspection and make any necessary touch-ups:
- Light Test: Shine a light parallel to the wall surface to highlight any imperfections. Address any issues with additional sanding or spackling as needed.
- Clean Again if Necessary: If dust or debris has settled on the walls during the repair and priming process, wipe them down one last time with a damp cloth.
- Gather Materials: Ensure all materials and tools for wallpaper installation are ready and within reach. This includes wallpaper rolls, adhesive or paste, a smoothing tool, and a sharp utility knife.
Installing New Wallpaper
Installing new wallpaper can transform a busy hallway, giving it a fresh and updated look. Follow these steps for a successful application:
- Measure the Wall: Measure the height and width of the wall to determine the length of wallpaper needed.
- Cut the Wallpaper: Cut the wallpaper strips slightly longer than the wall height, allowing extra for trimming.
- Prepare the Adhesive: Mix the wallpaper adhesive according to the manufacturer’s instructions.
- Apply to Wallpaper or Wall: Depending on the type of wallpaper, apply the adhesive to the back of the wallpaper or directly to the wall using a roller or brush.
- Align the First Strip: Start at a corner and align the first strip with a plumb line to ensure it’s straight.
- Smooth and Trim: Smooth the wallpaper from the center outward using a smoothing tool to remove bubbles. Trim excess at the top and bottom with a utility knife.
- Match the Pattern: If the wallpaper has a pattern, carefully match the pattern as you hang each subsequent strip.
- Overlap and Cut: Overlap the strips slightly and then cut through the overlap to create a seamless join. Remove the excess overlap.
- Smooth Seams: Smooth the seams with a seam roller to ensure they are flat and secure.
- Clean Up: Wipe away any excess adhesive with a damp sponge and let the wallpaper dry completely.
Conclusion
Replacing wallpaper in a hallway can breathe new life into your commercial space, enhancing its aesthetic appeal and creating a welcoming environment. By following the outlined steps and tips, you can ensure a smooth and efficient process when replacing wallpaper in a busy area.
For professional assistance, you may contact Custom Painting, Inc. at 925-866-9610 or fill out the contact form on our website. Let our experts handle the job, ensuring a flawless and timely wallpaper replacement.
