
Installing crown molding is a blend of precision and artistry for San Jose businesses and homeowners. For a flawless finish, having the right tools is essential. In this guide, we’ll cover the must-have tools every installer needs for perfect crown molding installation. From measuring tapes to miter saws, these tools ensure accuracy and efficiency. Whether you’re a seasoned professional or a DIY enthusiast, equip yourself with these essentials to achieve seamless results every time.
Measuring and Marking Tools
Having the right measuring and marking tools is the foundation of a perfect crown molding installation. These tools ensure accuracy and precision, leading to a flawless finish that enhances the beauty of any room. Here are the measuring and marking tools that you need:
- Tape Measure: A tape measure is indispensable for any crown molding project. Accurate measurements are crucial to ensure that each piece of molding fits perfectly. Inaccurate measurements can lead to gaps and misaligned corners, which can be difficult and time-consuming to fix. Always double-check your measurements to avoid costly mistakes.
- Combination Square: A combination square is essential for ensuring straight and consistent lines. This tool helps in marking right angles and checking the depth of cuts. Using a combination square ensures that your cuts are precise, leading to a professional-looking finish. It’s particularly useful when transferring measurements onto the molding or wall.
- Protractor or Angle Finder: Angles are a critical aspect of crown molding installation. A protractor or angle finder allows you to measure and replicate angles accurately. These tools are essential for ensuring that the molding fits perfectly in corners, whether they are standard 90-degree angles or more complex configurations. Accurate angle measurement prevents gaps and ensures a seamless fit.
- Pencil and Marking Tools: Making precise and visible marks on molding and walls is crucial for a successful installation. Pencils are the go-to tool for this purpose, but other marking tools like chalk or fine-tip markers can also be useful. Clear, accurate marks guide your cuts and placements, helping to avoid mistakes and ensuring that each piece of molding is positioned correctly.
Cutting Tools
Having the right cutting tools is critical for achieving precise, clean cuts in crown molding installation. These tools ensure that each piece fits perfectly, contributing to a seamless and professional finish that enhances the overall appearance of the room. Here are the essential cutting tools:
- Miter Saw: A miter saw is essential for making accurate angled cuts, which are a fundamental part of crown molding installation. When choosing a miter saw, look for features like sliding capabilities, which allow for cutting wider pieces of molding, and a dual bevel feature, which enables bevel cuts in both directions without repositioning the material. These features save time and increase precision, ensuring that each cut is perfect.
- Coping Saw: A coping saw is used to create coping joints, which are necessary for achieving a seamless fit between pieces of molding. Coping involves cutting the end of one piece of molding to match the profile of an adjoining piece. This technique allows for a tight fit, even in corners where walls may not be perfectly square. The thin, flexible blade of a coping saw makes it ideal for this detailed work.
- Hand Saw or Back Saw: For smaller, detailed cuts, a hand saw or back saw is a useful tool. These saws are perfect for making precise cuts that may be difficult to achieve with a larger power saw. A back saw, with its reinforced spine, provides extra control and stability, making it ideal for fine, accurate cuts in smaller sections of molding.
- Utility Knife: A utility knife is a versatile tool for trimming and fine-tuning edges. It can be used to shave off small amounts of material for a perfect fit, clean up rough edges, or make minor adjustments. A sharp utility knife is essential for ensuring that all pieces of molding fit together smoothly and look professionally finished.
Fastening Tools
Fastening tools are also important to achieve a successful crown molding installation. Here are the different fastening tools you need:
Nail Gun
A nail gun is essential for the speed and efficiency it brings to securing molding. It allows for quick and strong attachment, significantly reducing the time and effort compared to manual nailing.
- Brad Nailer: Ideal for smaller, more delicate molding pieces. It uses thin brad nails that leave tiny holes, which are easier to fill and finish.
- Finish Nailer: This nailer is suited for larger, heavier molding. It uses thicker nails that provide a stronger hold, ensuring the molding stays securely in place.
Using a nail gun ensures consistent results and minimizes the risk of damaging the molding with a misplaced hammer strike.
Hammer and Nails
While power tools like nail guns offer convenience, the traditional method of using a hammer and nails still has its place, especially for detailed work. This method allows for greater control in tight or awkward spaces where a nail gun might not fit. It’s also useful for making minor adjustments or securing small sections of molding. For detailed, precision work, a hammer and nails can be an invaluable part of your toolkit.
Adhesive Caulk Gun
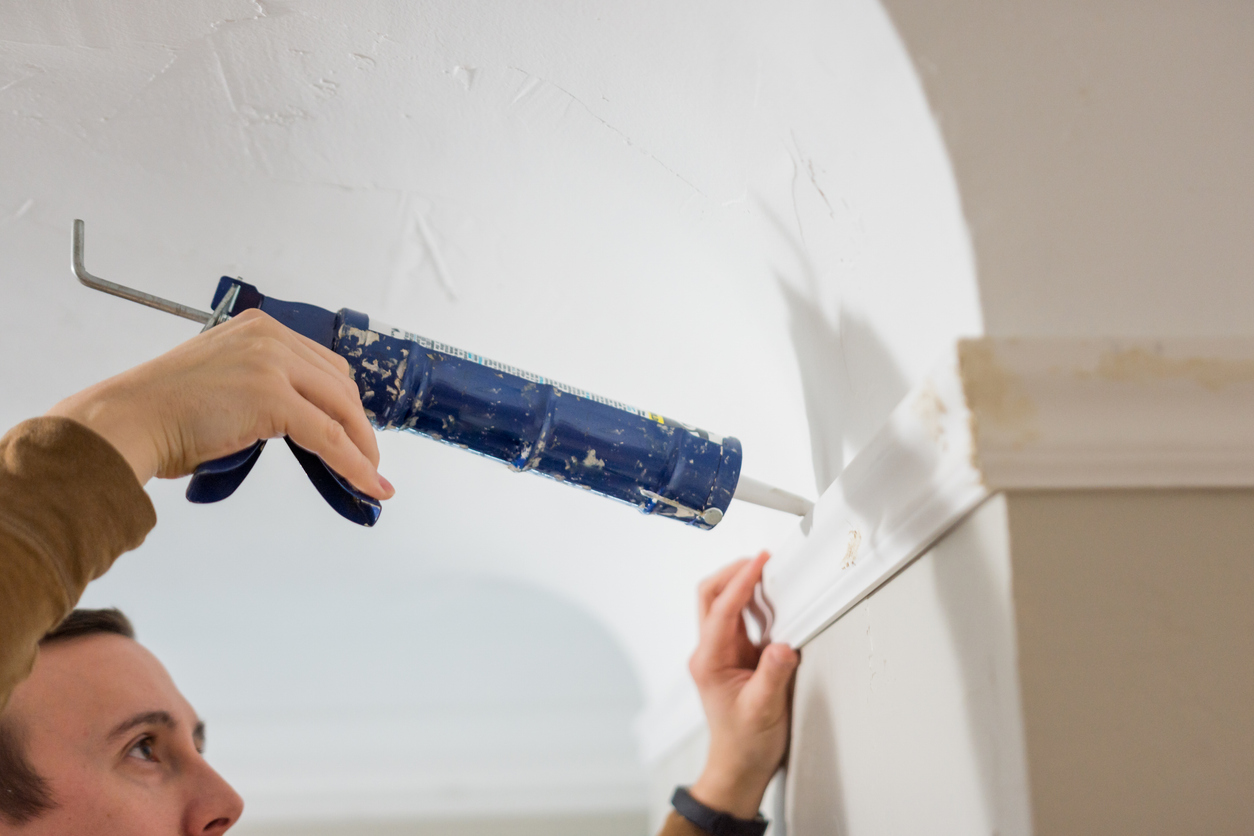
An adhesive caulk gun is crucial for ensuring that molding stays in place and for sealing any gaps between the molding and the wall. Using adhesive in conjunction with nails provides a double layer of security, ensuring that the molding won’t shift over time.
Benefits:
- Enhanced Security: Adhesive helps to hold the molding firmly against the wall, preventing it from moving or warping.
- Gap Sealing: Caulk can be used to fill small gaps and imperfections, creating a smooth, seamless appearance and improving the overall finish.
Support Tools
Using these support tools can significantly enhance the quality and efficiency of your crown molding installation:
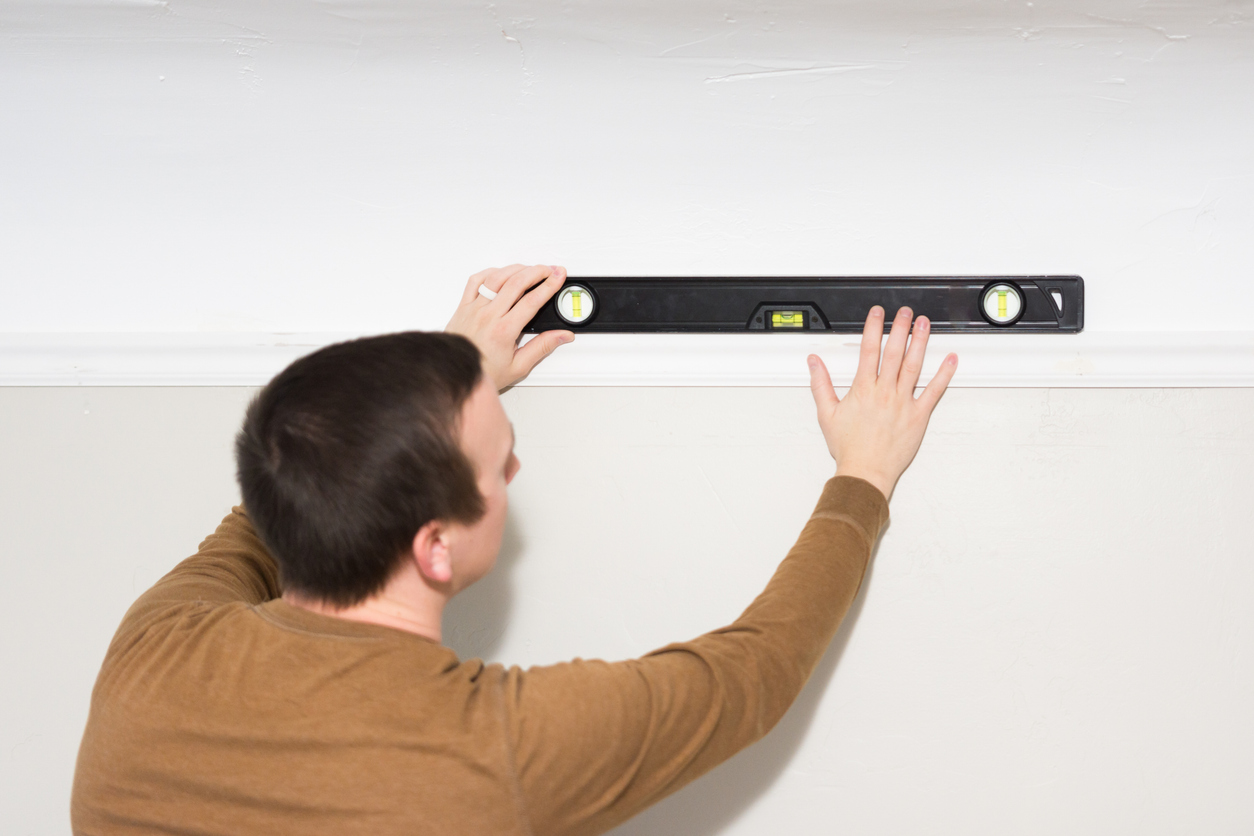
1. Level
A level is indispensable for ensuring that your crown molding is perfectly straight and level. Using a level guarantees that each piece of molding aligns correctly, avoiding uneven lines and a crooked appearance. Whether you’re working on long sections or small pieces, a level helps maintain a consistent and professional look throughout your project.
2. Stud Finder
A stud finder is crucial for locating studs behind walls, providing secure attachment points for your molding. Knowing where the studs are helps you drive nails into solid wood rather than just drywall, ensuring that the molding stays firmly in place. This tool increases the stability and durability of your installation, preventing future issues such as sagging or detachment.
3. Clamps
Clamps are essential for holding pieces of molding in place during installation. They provide the extra hands you need to keep everything steady while you make cuts, apply adhesive, or secure nails. Clamps ensure that each piece remains in the correct position, allowing you to work more efficiently and accurately without worrying about shifting or misalignment.
4. Molding Jig
A molding jig is a specialized tool that assists with making accurate and repetitive cuts. This is particularly useful when you have to cut multiple pieces to the same length and angle. A jig helps ensure consistency, reducing the likelihood of errors and saving time. It holds the molding at the correct angle, allowing you to make precise cuts quickly and easily, which is especially important for intricate crown molding designs.
These help ensure precision, stability, and ease of work, leading to a flawless and professional finish.
Finishing Tools
Using these finishing tools ensures that your crown molding installation not only fits well but also looks beautiful:
1. Sandpaper or Sanding Block
Sandpaper or a sanding block is essential for smoothing the edges and surfaces of your crown molding. After cutting and installing, sanding helps remove any rough spots or imperfections, ensuring a smooth, even finish. This step is crucial for preparing the molding for painting or staining, as it ensures that the surface is clean and ready to accept the finish evenly. A fine-grit sandpaper works best for this task, providing a smooth and professional look.
2. Wood Filler
Wood filler is a key tool for filling gaps and nail holes in your crown molding. Even with precise cuts and careful installation, small gaps and holes are inevitable. Wood filler helps to create a seamless appearance by filling these imperfections. Once applied and sanded smooth, the filler blends in with the molding, creating a flawless surface ready for painting or staining. This step enhances the overall appearance and professionalism of your project.
3. Paintbrushes and Paint
Paintbrushes and paint are the final touches that give your crown molding a polished and finished look. Choose high-quality paintbrushes to ensure smooth and even application, avoiding streaks and brush marks. The type of paint you choose will depend on your desired finish; whether you prefer a glossy, semi-gloss, or matte finish, the right paint will enhance the beauty of your molding. This is especially important for tasks such as decorative painting.
Applying a primer first can help the paint adhere better and last longer. Carefully painting your crown molding adds the final layer of perfection, completing your installation with a professional touch.
Sanding, filling, and painting are the final steps that bring your project to completion, resulting in a smooth, polished, and professional appearance.
Safety Equipment
Using the right safety equipment is essential for a safe and healthy crown molding installation process. Here are some of the safety equipment you need:
- Safety Glasses: These are crucial for protecting your eyes from debris during crown molding installation. Cutting, sanding, and nailing can produce small particles that can cause serious eye injuries. Safety glasses create a barrier, shielding your eyes from flying dust, wood chips, and other hazards. Always wear them to ensure your eyes are safe and to maintain clear vision throughout your Sunol, CA area project.
- Ear Protection: This is essential when using power tools, which can produce high levels of noise. Prolonged exposure to loud sounds can lead to hearing damage or loss. Using earplugs or earmuffs reduces noise exposure, protecting your hearing. This precaution is particularly important when working with miter saws, nail guns, and other loud equipment, ensuring that you can work comfortably and safely.
- Dust Mask or Respirator: This is vital for protecting your lungs from inhaling dust and fine particles generated during cutting and sanding. Breathing in wood dust can cause respiratory issues and long-term health problems. Wearing a dust mask or respirator filters out harmful particles, ensuring you breathe clean air. This safety equipment is particularly important in enclosed spaces where dust can quickly accumulate.
Conclusion
Having the right tools and safety equipment is essential for a perfect crown molding installation. From measuring and cutting to fastening and finishing, each tool plays a crucial role in achieving professional results. Also, always remember to prioritize safety with proper protective gear. For expert assistance or to ensure a flawless installation, contact Custom Painting, Inc. at 925-866-9610 or fill out our contact form. We’re here to help with all your crown molding needs.
