
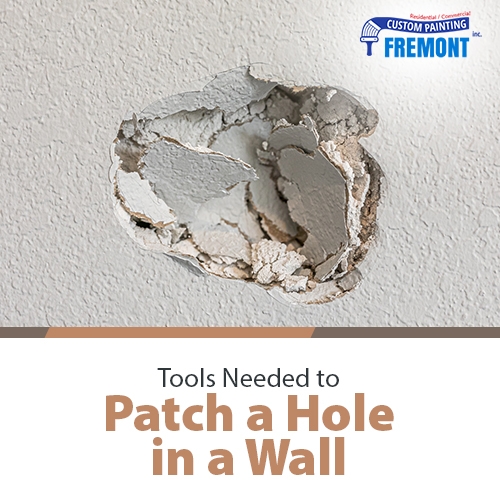
Tools have always been an essential part of any occupation or undertaking. They help us to get the job faster and easier. When you hire a painter near me, you may see them carrying their tools and accessories, some of which seem unfamiliar to ordinary people, like the paint sprayer and different types of paint brushes.
No matter what job you’re doing – such as patching a hole in the wall – the right tools enable you to get things done quicker and more efficiently. They also help you prevent errors and achieve better results. Knowing which tools are needed, and having the skills to use them properly, helps painting contractors in Fremont, CA accomplish the results the customers want.
Cracks and holes are some of the most common wall problems caused by various factors, including the impact of people and everyday objects, degradation of building materials, temperature changes, or your home’s foundation problems.
Repairing holes in drywall is necessary to maintain any building’s integrity. When repairs have not been made, holes may allow heat, cold, construction residue, insects, and moisture into your home. Besides, they can make your home less appealing.
The good news is, fixing drywall holes is easy to do. And again, we stress the importance of having the right tools, so use nothing but only quality tools for the job. It’s important to make a checklist of the necessary tools and materials to ensure you remember everything.
 The tools needed for wall patching and painting:
- Putty knife
- 120-grit sandpaper
- Drywall saw
- Carpenter’s knife
- Broad knife
- Trowel
- Drill
- A scrap piece of drywall (for patching large cracks or holes)
- Adhesive mesh tape
- Drywall screws
- Furring strips
- Primer
- Paint
- Paintbrush or roller
- Dust mask
Materials:
- Spackle or pre-mixed joint compound
The size of the hole in your wall and its location will determine which repair technique you should use, so you may only require some of these tools mentioned earlier. If you need help with how to proceed, consider calling a painting company like Custom Painting, Inc. to do the work for you.
Patching small cracks or holes (step-by-step)
Hairline cracks and small holes are easy to fix. Follow the instructions below:
- Clean the hole by removing loose concrete, paint, or old filler.
- Use a damp rag to wipe off any dust.
- Using a putty knife, fill the cracks or small holes with a spackle or joint compound. Then, press and smear the filler until it becomes flush with the wall.
- Allow the spackle or compound to dry.
- Once the filler dries, lightly sand the area. Apply a second coating of filler if necessary. Sand once dry.
- Prime and paint over the patched area.
Patching large holes
Bigger drywall holes require more care, attention – and patience. As a DIY-er, it will probably take you a bit longer to complete this task than a professional painter would.
But as long as you have the right tools and follow the instructions properly, you might be able to achieve a satisfying finish.
Caution: Before beginning your repair, determine the location of your home’s utility placement. Electric wires are typically attached to wall studs, so be careful not to nick those wires before proceeding to cut, drill, or nail drywall. Always wear protective gear while working on drywall, at a minimum, eye protection, and a mask to keep you from breathing in drywall dust.
To repair bigger holes in drywall:
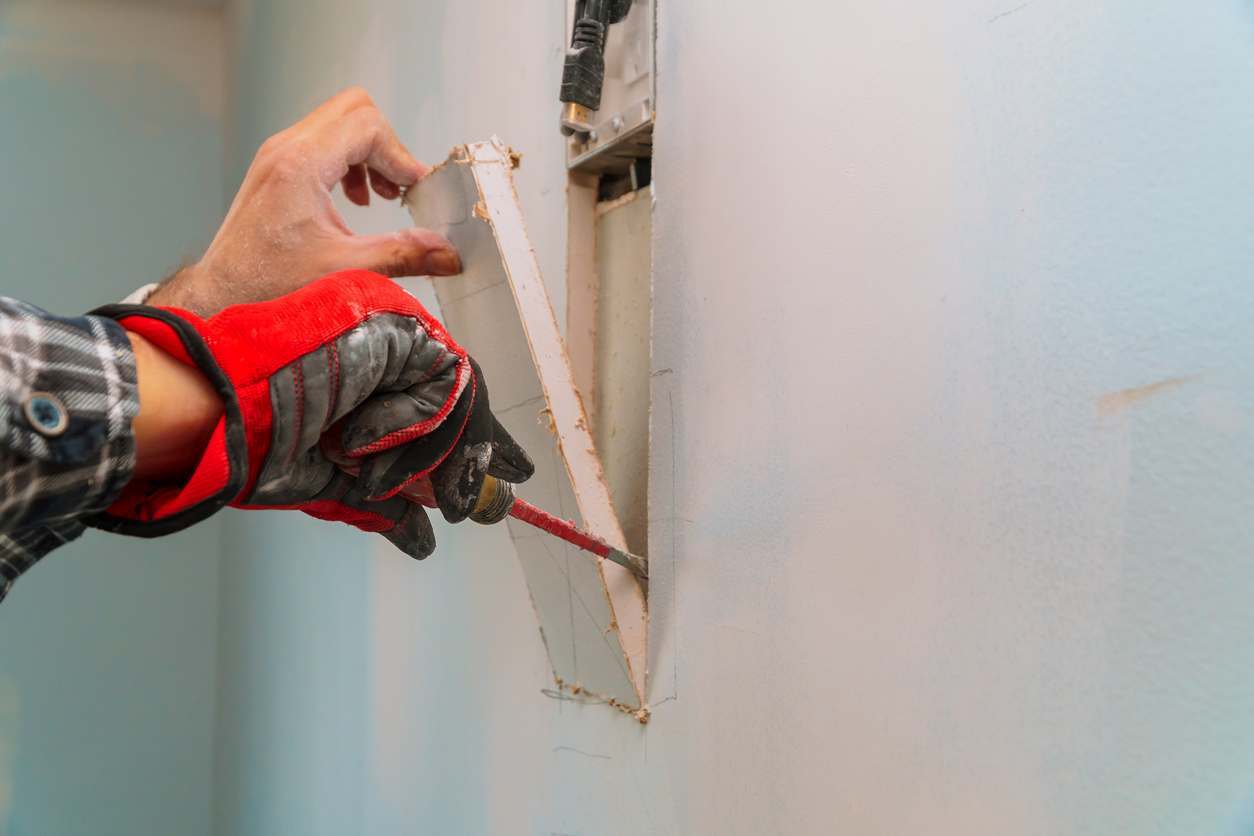
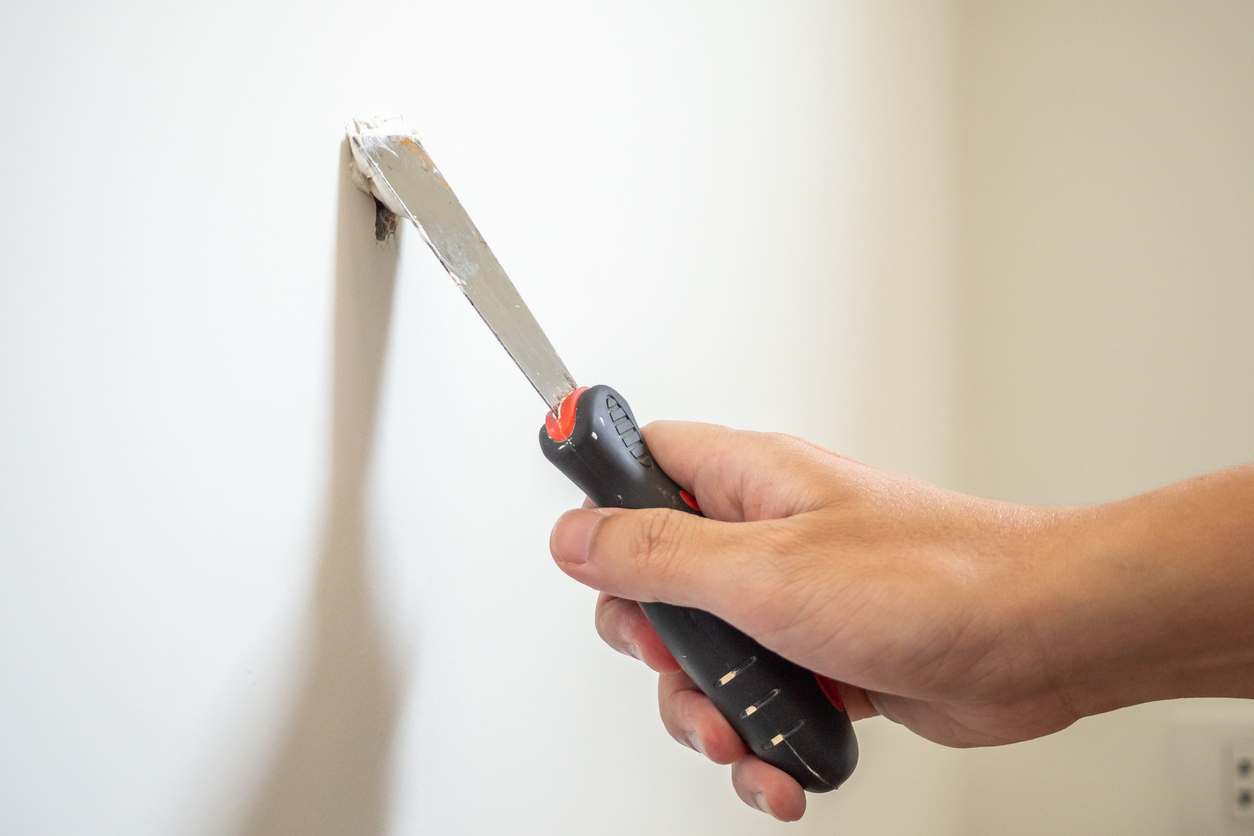
- To make a drywall patch, use a razor knife or carpenter’s knife to cut a new piece of drywall that is slightly bigger than the hole.
- Hold the drywall patch over the hole. Using a pencil, start tracing around the edges.
- Cut along the traced lines using a drywall saw. While cutting, be careful not to nick electrical lines or plumbing.
- Install furring strips inside the hole with drywall screws. Make sure that the screws firmly anchor the furring strips beneath the wall and the screw heads flush (or slightly dimpled) beneath the surface.
- Fit the drywall patch into the hole and secure it to the furring strips with screws.
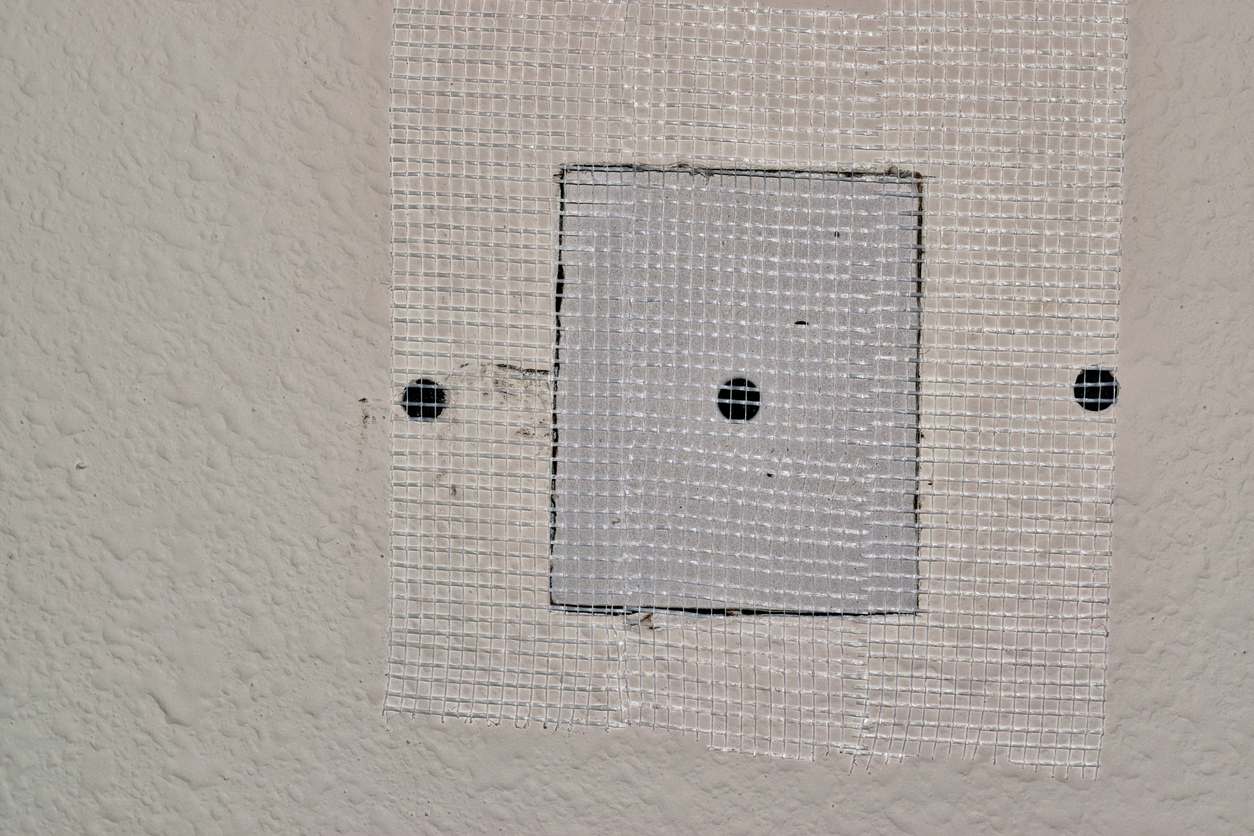
- Apply adhesive mesh tape to the drywall patch’s borders to strengthen the bond between the patch and the wall. It will prevent possible cracks in the future.
- Apply joint compound over the patched surface, then feather the edges to blend the compound with the wall. Allow the compound to dry.
- Lightly sand the compound and apply a second coat (if necessary). Sand once dry.
- Prime and paint the surface.
Tips to consider:
- For an even smoother look, apply a third layer of the spackle or joint compound after the second layer has been applied, dried, and sanded.
- Wear a dust mask while sanding dried spackle or joint compound.
- If you’re repairing textured drywall, use a stipple compound, pre-mixed grout, or drywall compound to create texture. Another option is using a can of texture spray, ideal for smaller repairs and texturing.
Don’t skip the priming step – both spackle and joint compound are essentially as porous and absorbent as the drywall itself.
- The primer will help seal the patched area and make the topcoat stick better to the surface.
- Priming may also help reduce the total number of coats needed.
If you’re up to the task and have the right tools, you can end up with a satisfying drywall patching finish. Completing the job can help build your confidence as a DIY home painter and builder. Otherwise, you can hire the best home painter in Fremont, which will replace a hole in your drywall, do a texture patch on interior walls, or even replace the entire drywall sheet.
If you need professional help, Custom Painting, Inc. can replace or repair drywall and give it a beautiful, seamless finish that looks brand new all over again. With over 40 years of experience, you can trust that they’ll do the job right – on time and within budget. Contact our professionals to discuss your project today.
